
Gocco is a device that was invented in the 1970's, is a system that develops quick and easy printing. It is somewhat similar to a rubber stamp pad. If you wish to read more about it please click on the following link: what is gocco?
Using a gocco isn’t that hard, it’s really simple as long you are prepare and that you have all your supplies with you. Although there are few times I made some errors – it’s all about experimenting and accepting the errors you made.

Supplies – Gocco models - pg –5 or pg-11 – these two are the most popular models, although I really like the pg-11 cause the pad table is movable where you want to align your work.
I’ll be using my pg-11 for my gocco tutorial. In this tutorial I’ll be working on wedding related project I recently accepted. I’m working on Save the Date cards.
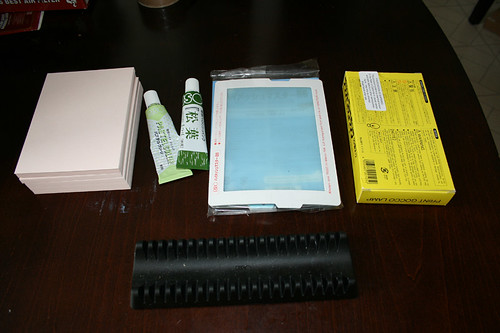
First I gather all my supplies:
- Bulb
- Master screen prints
- Inks
- Blue filter
- Papers
- Pencil
- PG-11 machine & PG-11 Lamp Housing
Using a pencil comes in handy cause I like to align all my work before I start the actual printing.
The Design:

When designing from the computer make sure your dpi resolution set to a high resolution. For instance the image that I set is on 100 dpi resolution and text part is 600 dpi. You want to avoid printing your work pixilated. I always like to get clear and smooth prints.
Then I printed out my design on a laser jet printer on a black and white format. Make sure print out has a lot of carbon ink so this way your artwork will transfer onto the master screen print with out any problems. Or another way you can use a carbon pen and draw on your work.
Next I set my print out work onto the gocco pad plate.
Tips: Be sure to use a cardboard to set on top of the sticky pad. Do not expose the print out straight onto the sticky pad, Your carbon print out might not capture your work on to the master screen print cause the sticky pad is too strong that the paper will stick on the pad from keeping it from being expose once you lift up the gocco device.
I had once incident that I did not put the cardboard on top of the sticky pad and the design that I expose was stuck on the sticky pad keeping it from getting exposed to my master screen print.


Once I align and set where I want to expose my screen – don’t forget the blue filter and also the lamp housing.
The filter is to help you from prevent the carbon print out getting it stuck to the master screen print.
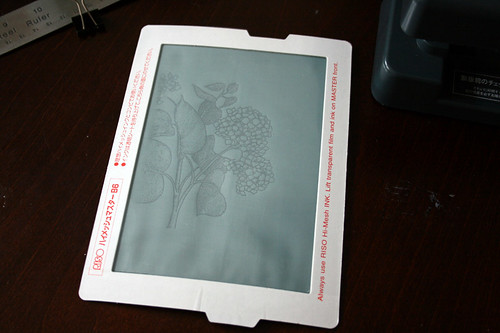
Here's are the final results of two of my master screen print being exposed:

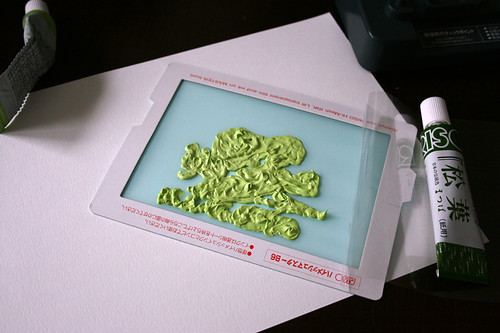
At this stage I’m inking up my screen and printing it out and tada here’s the final touch.
And here's the final touch print out:
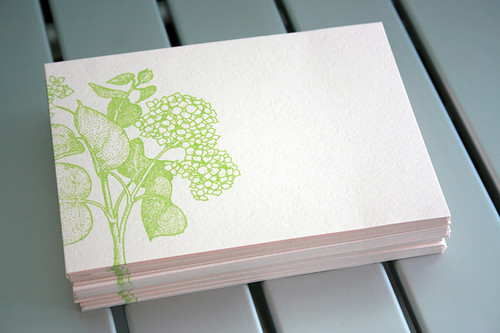
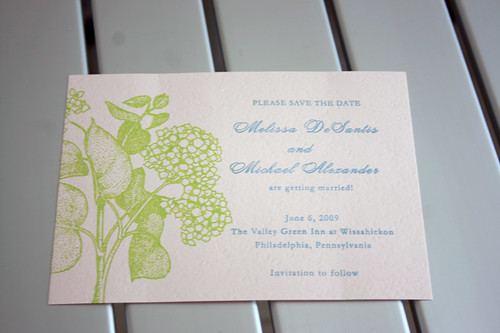
In this project I split up two screens because the area within the gocco device isn’t enough space for me to capture everything within one screen print out. The most I can capture is 6x4, so be sure to plan out ahead and figure how much space you need before printing and working on your design.
Hope you enjoy the little mini gocco tutorial, it’s a fun little project for all different occasion. Just remember practice makes perfect.
2 comments:
Great tutorial (: Thanks for re-inspiring me in the Gocco front! I need to get started on it again...I'm going to buy more bulbs now and print out some picts!
this came out so beautiful! good job!
Post a Comment