
 Halloween Coasters from the {NewNew} York Street Team
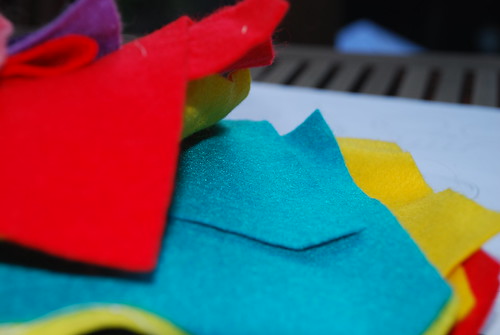 Basic Supplies:
-Sheets of felt
(mainly black + a contrasting color)
-Scissors or craft/exacto knife
-Embroidery floss in a bright color + needle
I like my craft projects quick and scalable! This Halloween themed coaster project is something you can keep very simple with the shapes provided and be done with some basic coasters within an hour, or you can really make them more durable by adding cork backs or even leather if you've got it, embellishing them with some embroidery via machine or hand, or even size them up to make placemats - it’s up to you!
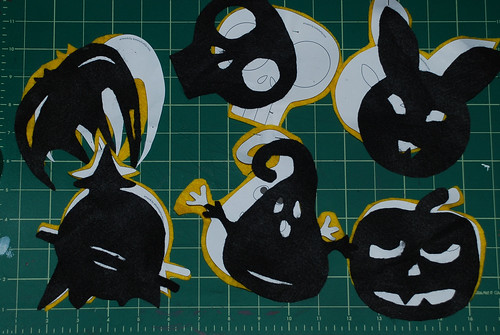
 The first thing I did was call out to members of The {NewNew} York Street Team to supply me with some scary silhouettes to work with. 6 Artists answered my call, supplying silhouetted artwork for a pumpkin (from CollectiveElements), ghost (from MayLuk), bat (from ME/KimmChi), bunny (yes, i said bunny) and skull (from Luckx4), and witch (by AlleneLaSpina).
All of this artwork, sized for coasters, can be downloaded HERE.
Choose the designs you want, or even make a set of all of one design.
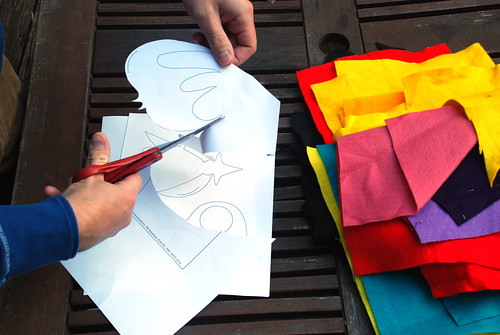
Step 1:
Choose and print the designs you want. Use these as templates to cut the felt out. The size of the design files should be suitable for basic coasters if printed at 100%; for glasses with extra large bases you might want to scale these up a bit.
Step 2:
After you print out the templates, cut them out and pin them on to the color of felt you would like for your coasters. (I chose black for starters, but will cut them further and back them with a bright contrasting color in step 4).
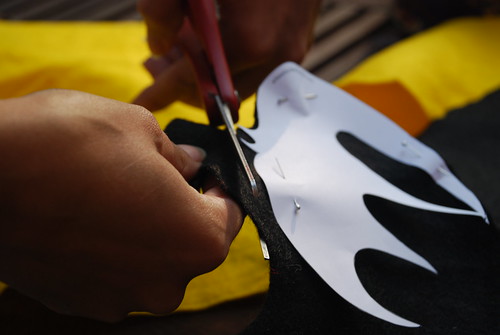
Step 3:
After you have your desired number of designs cut out, use your exacto knife or scissors to add in details and design to the simple silhouette - making sure your accents are large enough to show through the cuts.
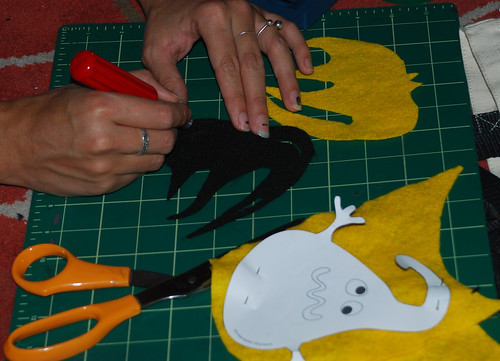 Step 4:
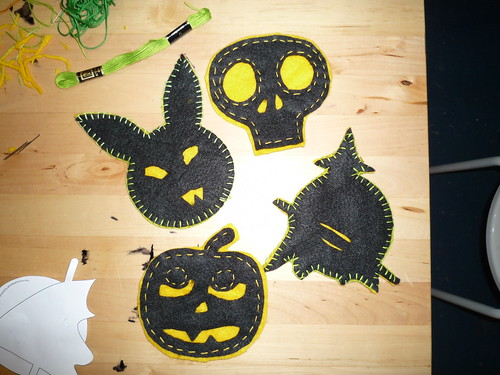
Use the templates you cut out in Step 2 to cut out more felt using nice bright colors which will be eye catching in contrast to the spooky black silhouettes. Pin these to the black silhouettes of the same design.
 Step 5:
Using either hand embroidery or a machine, you can sew along the edges of the coasters in a nice bright contrasting thread - attaching the bottom layer as you go. For a great video tutorial on how to do the blanket stitch (the one around the bunny and witch CLICK HERE). You may have to press the whole thing with a hot iron when your done. And then you’ll have some spooky coasters to rest your spooky beverages on.

Optional:
If you want to make these coasters more durable, you can use these templates and a craft knife to cut the silhouettes from a roll of thin cork or even scrap leather. Back them up to the felt parts and use a good glue- gorilla glue or E600, press them together and let them sit overnight under a pile of heavy books. When they are dry, trim up any excess.
Thanks to CollectiveElements, MayLuk, KimmChi, Luckx4, and AlleneLaSpina for submitting designs!
And thanks to those that came out to the Etsy Labs for the craft night I hosted with this project on October 20 - that's you RedBridge and ThePeachTree - THANKS!
Download this whole tutorial in PDF format
 -Kimm
-KimmKimmChi.etsy.com
3 comments:
so cute...and spoooooooky!
cute!
fun!
Post a Comment