And you see how twisted and random my thoughts can be. Sometimes these thoughts turn to something productive, like developing a new hobby (gardening, recycling old clothes into new clothes, composting). Other times... well, let's just say sometimes my time can be better spent sleeping.
Back to the original point of this post, which began with me staring at half broken eggshells and feeling like they could be something more. I loved the way they fit back together after being broken, so I thought we could make real egg shakers minus the plastic. This turned out to be a multi-day process with the drying times factored it, but it was really sort of fun. So here's how to do it.
1. Clean your eggshells thoroughly and lay them out to dry.
2. Fill partially with different dried beans. We used lentils, split peas, and black beans.
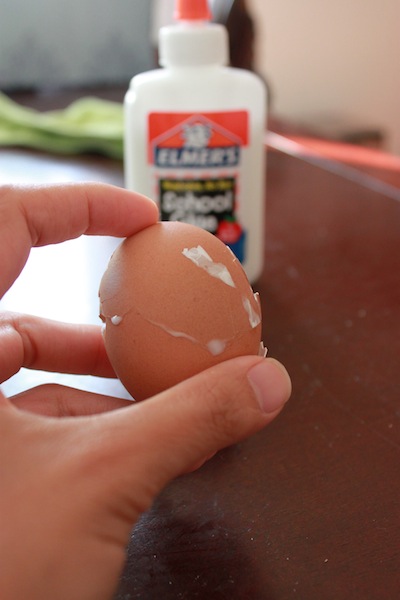
3. Apply a thin layer of glue along the rim of the eggshell and fit the other side snugly on top, making sure it matches up perfectly.
4. Let dry for a few hours or overnight.
5. Cut thin strips of newspaper, about .5 inches by 2 inches, for the paper mache. Make a paste from flour and water (boil half a cup of water on the stove and whisk in a heaping tablespoon of flour - simmer lightly for a minute and then let cool). Dip paper in paste or use a paintbrush to apply the paste on the egg and cover the eggs with a few layers of newspaper and paper mache paste.
6. Let dry overnight. (Lay them on the egg cartons and make sure to rotate them so the entire egg dries.)
8. Use poster or acrylic paints to add color to your egg shakers.
9. Do a lesson on color mixing by only starting out with red, yellow, blue and white. Use the egg carton to mix colors (yellow + blue = green, red + blue = purple, red + white = pink, etc).
10. Paint!
11. Let dry and then let the musicians loose on the shakers! I find the sound of beans on eggshells really soothing and much more pleasant than the plastic variety. Store the egg shakers in the dried out egg carton and also use in food play.


6 comments:
Awesome tutorial! You and your kids always come up with the craftiest ideas :)
This was an awesome tutorial! I love how funny you are and how adorable your girls are. Thanks for sharing!
Who knew?! Great tutorial!
omg, i can't tell you how much i love seeing your family have so much fun with this!! Such a great project!
Thanks for the sweet comments!
This looks like great fun! I'm curious how this will work with the egg carton themselves. I look forward to trying it both ways. Thanks for the idea!
Post a Comment