Showing posts with label costume. Show all posts

October 26, 2009

DIY Halloween Costume - Potato Bug and Gingerbread Cookie

Trick or Treat! Would you dare open your door to two such nefarious characters? Take a second look at the smaller mug:

Well, don't let this delectable looking Gingerbread Cookie fool you. I used to call her "the Brute" back then. She was nearly kicked out of her Montessori school a year later and there are dents around the house from the ferocity of her tantrums.

This costume also proves that I always seem to have food on my mind. For my son's first Halloween, he was a Peanut Butter and Jelly Sandwich, which was rather ironic as he soon developed a bad peanut allergy. He used to go ring each doorbell and say, "Trick or Treat I can't have any candy with nuts or eggs." The conversations that ensued made for slow going on Halloween night. I made my daughter into a Gingerbread Cookie for her first Halloween, and showing she knew a good thing when she saw it, she asked to be a Cookie again for her second turn at trick or treating.

I used a store bought generic clown/bodysuit pattern, light brown heavy fleece, 4.5 yards of thick cream rickrack, 24" of pink satin ribbon, elastic for the wrists and ankles, velcro for the hood, a zipper for the back, and some deep purple fabric for the raisins. Follow the directions on the package but attach the rickrack before sewing front and back together. I made the raisins by taking a circle of fabric and just scrunching it into a wrinkly oval and sewing it together before attaching it to the costume.

I was so worried about my little morsel getting cold that I made this outfit as warm as a woolly coat. Of course my daughter had a metabolism like a furnace and she got rather sweaty inside it. But she looked good, and as she in her present incarnation would opine, that is all that matters.

Where's that can of Raid when you need it? We really thought our son would turn out to be an entomologist at this time, as there was nothing he loved so much as insects. So it was no surprise when he asked to be a potato bug for Halloween. I bought a black turtle neck at the consignment shop, and used material scraps I had already for the rest of the costume. I basically sewed a pillow in the oval shape of a potato bug, glued on strips of black for the stripes, and time always being short, simply pinned it to the back of his shirt. He was of course adamant that an insect had six legs, so I sewed two tubes of black fabric, stuffed them and pinned them to the back of his shirt as well. I also put a loop on the ends to slip over his wrists so he could wave all four arms at once. I attached some pipe cleaners to a headband for his antennae.

"This is good stuff. How 'bout we slip out and do a few more blocks while Mom's asleep?"

Happy Halloween!

Jody


www.astudiobythesea.etsy.com

October 13, 2009

The Unicorn , The Peacock, and The Pumpkin

The unicorn look can be pulled off in a few different ways. First you need your horn. The mask seen here comes in silver, gold, and white. If you want something cheaper and DIY, try rolling poster board in a triangle and covering with tinfoil or wrap braided trim around it. Then use some elastic to secure to your head or hot glue it to a headband.

Next, find a dress. You may have something in your closet already or you can try hitting up the thrift store. I'd suggest a white, silver, and/or black color scheme (Seen above: Black/Silver, Silver, White).

Add some chunky shoes or boots (hooves) and you're pretty much good to go. You can accessorize with a wig (or metallic/sparkly hair spray), metallic or faux fur items, and don't forget to finish the look with some glitter/shimmer make-up.

Now go find your inner unicorn!

The most important aspects of the peacock look are a blue dress and some type of peacock feather accessory. You can buy an outfit with a peacock pattern already on it, or get more realistic by taking a hand fan, gluing peacock feathers to it, and attaching it to your back by tying some type of string from the bottom and top of the fan around your waist. For your head, you can buy a premade headband or easily make one yourself with the hot glue. A simple and fun look to pull off!

Seen above: dark blue american apparel dress, patterned forever 21 dress, tights, shoes, headband, earrings, hairclip, wig, and make-up.

Next up we have The Pumpkin. This look is pretty easy to pull off. First of all, you'll need an orange shirt. You can buy one on Etsy like the one above, or DIY. Pumpkin faces are pretty simple to draw and it's Halloween, it doesn't need to be perfect! So just get out some black paint or a sharpie and you're good to go.

Next, you'll need some type of leggings. If you're afraid to break out the shiny/sequin trend in your normal day life, why not try it out for Halloween? (Seen Above: Sequin, Shiny Black, Shiny Copper).

Accessorize with a green headband like the Etsy ones seen above (leaf, scroll). Hit up a craft store and buy some fake vines to interwine throughout your costume, wherever you see fit. Finish it off with some green eyeshadow, sparkly black eyeliner, and some jewelry such as the copper cuff bracelet seen above.

Lastly, treat yourself to some pumpkin pie.

-Michelle /Dirty Loves Clean

September 27, 2009

DIY Halloween Costume: The Black Knight

"T'is but a scratch"

Having shown his warlike tastes by spending his previous Halloweens as a ninja, a War of 1812 ship captain and a Revolutionary War drummer boy, my son decided he would be something humorous last year - the black knight from Monty Python and the Holy Grail. That was the character in the rather bloody scene where King Arthur discovers his path blocked by a knight who refuses to stop fighting even after all his limbs are cut off. I figured with black jeans, a belt, and a black hooded sweatshirt, this wouldn't take too long to make. I already had a nice big Lord of the Rings plastic greatsword for him to use while he still had his arms, so all he was really going to need was a surcote and a helm after I convinced him he was not going wear one of my real helms from my days in the Society for Creative Anachronism.

Materials for costume for 10 to 12 yr old
Two 22"x40" rectangles of black fabric
9" square of red fabric
3 black craft foam sheets
red and white acrylic paint (acrylic gloss is optional)
x-acto blade
glue gun
masking tape
fabric adhesive spray
sewing machine
ruler

Sew the shoulders of the black fabric together, leaving a nice wide openning for the head and neck. I also sewed a pleat on either shoulder, so the surcote wouldn't hang over my son's arms too much. I cut out two triangular flaps and my son painted the bloody stumps, which turned out well and as his friends remarked admiringly, "Really gross." It took a day to dry, and then I also brushed it with some acrylic gloss. These flaps I sewed underneath the shoulders, so my son could tuck them in or out, depending on when he wished to be armless.
I screen captured the boar on the chest of the black knight's surcote and hand drew it onto the red fabric. Any one could enlarge the picture below instead. I then cut it out, sprayed the back with the fabric adhesive and machine appliqued it to the front.
The helm was made with 3 pieces of black craft foam. The back piece measured 12" wide by 8.5" high. The front piece was 14" wide and came to a point below the chin at 10.25", while it was 8.5 at the sides. I marked the eye and air slits from the back and cut them out with the x-acto blade and a ruler.
The top was an 9" by 7"oval.
I used masking tape to hold the parts together and then made things a lot more permanent with a glue gun. I also cut little circles of foam to be the rivets. I was going to spray it silver but my son liked it the way it was, & so it was done. A nice light helm, good for running about in at school and while trick or treating.
"NONE SHALL PASS!"

Jody


October 27, 2008

How To Make Wings for your Halloween Costume

You can use these to make wings of all different shapes, sizes to suit your needs. I’m purposely making strangely small oddly shaped monster wings.

What you’ll need:
Wire hangers
Scissors
Panty hose (any color)
Glitter
Glue
Paint
Decorations: Fur, feathers, sequins, whatever you have
Elastic
Felt, fur, or other thick fabric
Sewing machine (optional)


Start with your two wire hangers. Shape them into a wing each. If you want bigger wings, try shaping your own from larger pieces of wire. If you’re using hangers, straighten the hook on each and wind them together.


Take a pair of panty hose, the color may determine what kind of wings these are, I’m using black. Don’t be shy to paint or dye the panty hose to get the desired effect.


Cut off the legs and stretch a leg over each wing. Pull the opening towards the center where the wings will connect together (at the hook part of the hanger).


Measure two strips of elastic of the same length around your arms and to the middle of your chest, comfortable, but with some tension.


Take two pieces of felt or fur (I’m using 4” x 4”) and glue or sew the two pieces together with the pantyhose, ends of the elastic loops and hook part of the hanger tucked inside. If you’re using a sewing machine like me, don’t try to sew over the wire hangers. Make sure that you sew over the pantyhose and elastic though, so they stay firmly in. Even if you’re gluing the two pieces, I recommend putting a few stitches in over the elastic bands the pantyhose, even by hand, for added security.


Now time to decorate! Glue, sew, paint your wings to your heart’s desire!


Try your new wings with a fairy dress, or a white gown and halo, or with butterfly antennae. If you’re like me, maybe you have some other purpose for wings. I can’t wait to finish my monster costume to try on with my new wings.

Karen
Karen's Monsters
karensmonsters.etsy.com

March 11, 2008

The {NewNew} Clothing Shops

For more Accessories from the Metro New York area - search: newnewteam, clothing on Etsy


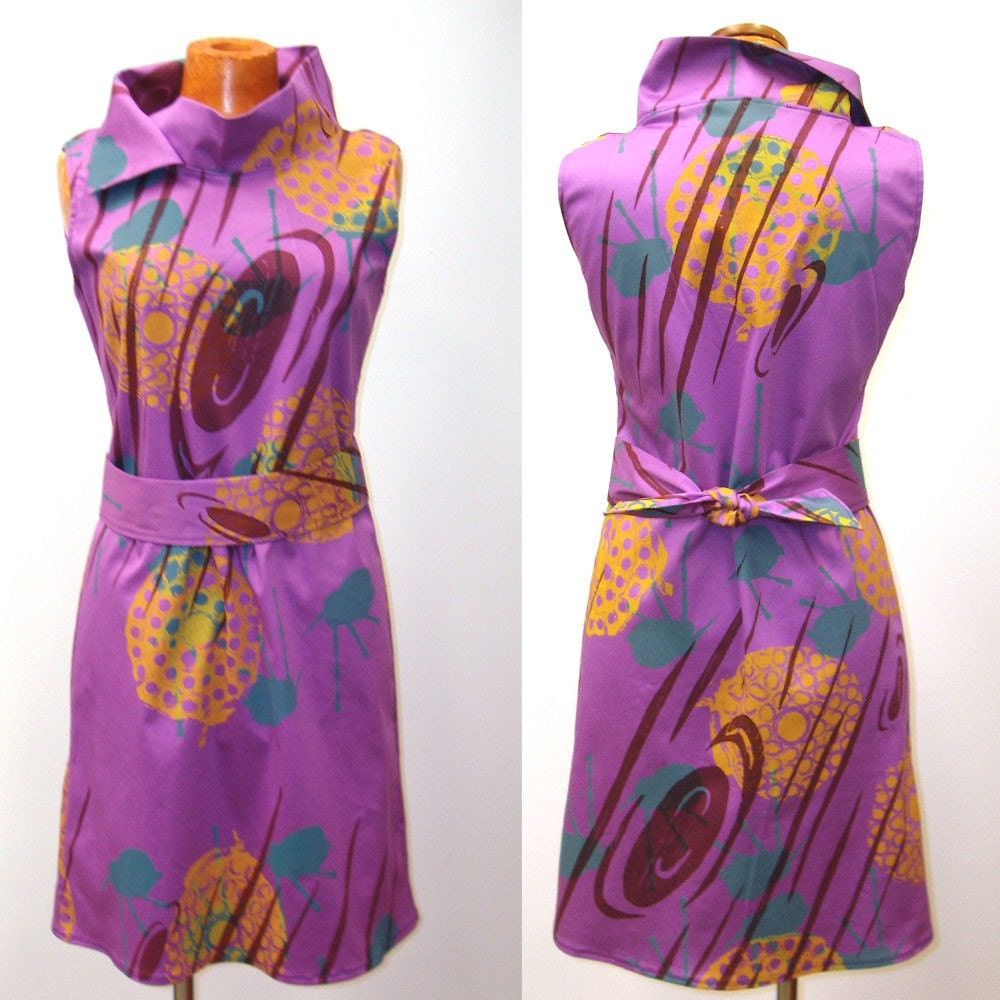
Better than Jam - Hello, my name is Karin and I am "Better Than Jam." I love designing patterns and printing my own fabric. I studied at the School of the Art Institute of Chicago, graduating May 2002.

While in school I did more installation work, decorating a whole room with one pattern. I really enjoyed camouflaging a person with their surroundings. I have recently become less structured in my process, developing a method of randomness with an artistic eye, rather then using a mathematical formula for the perfect pattern.


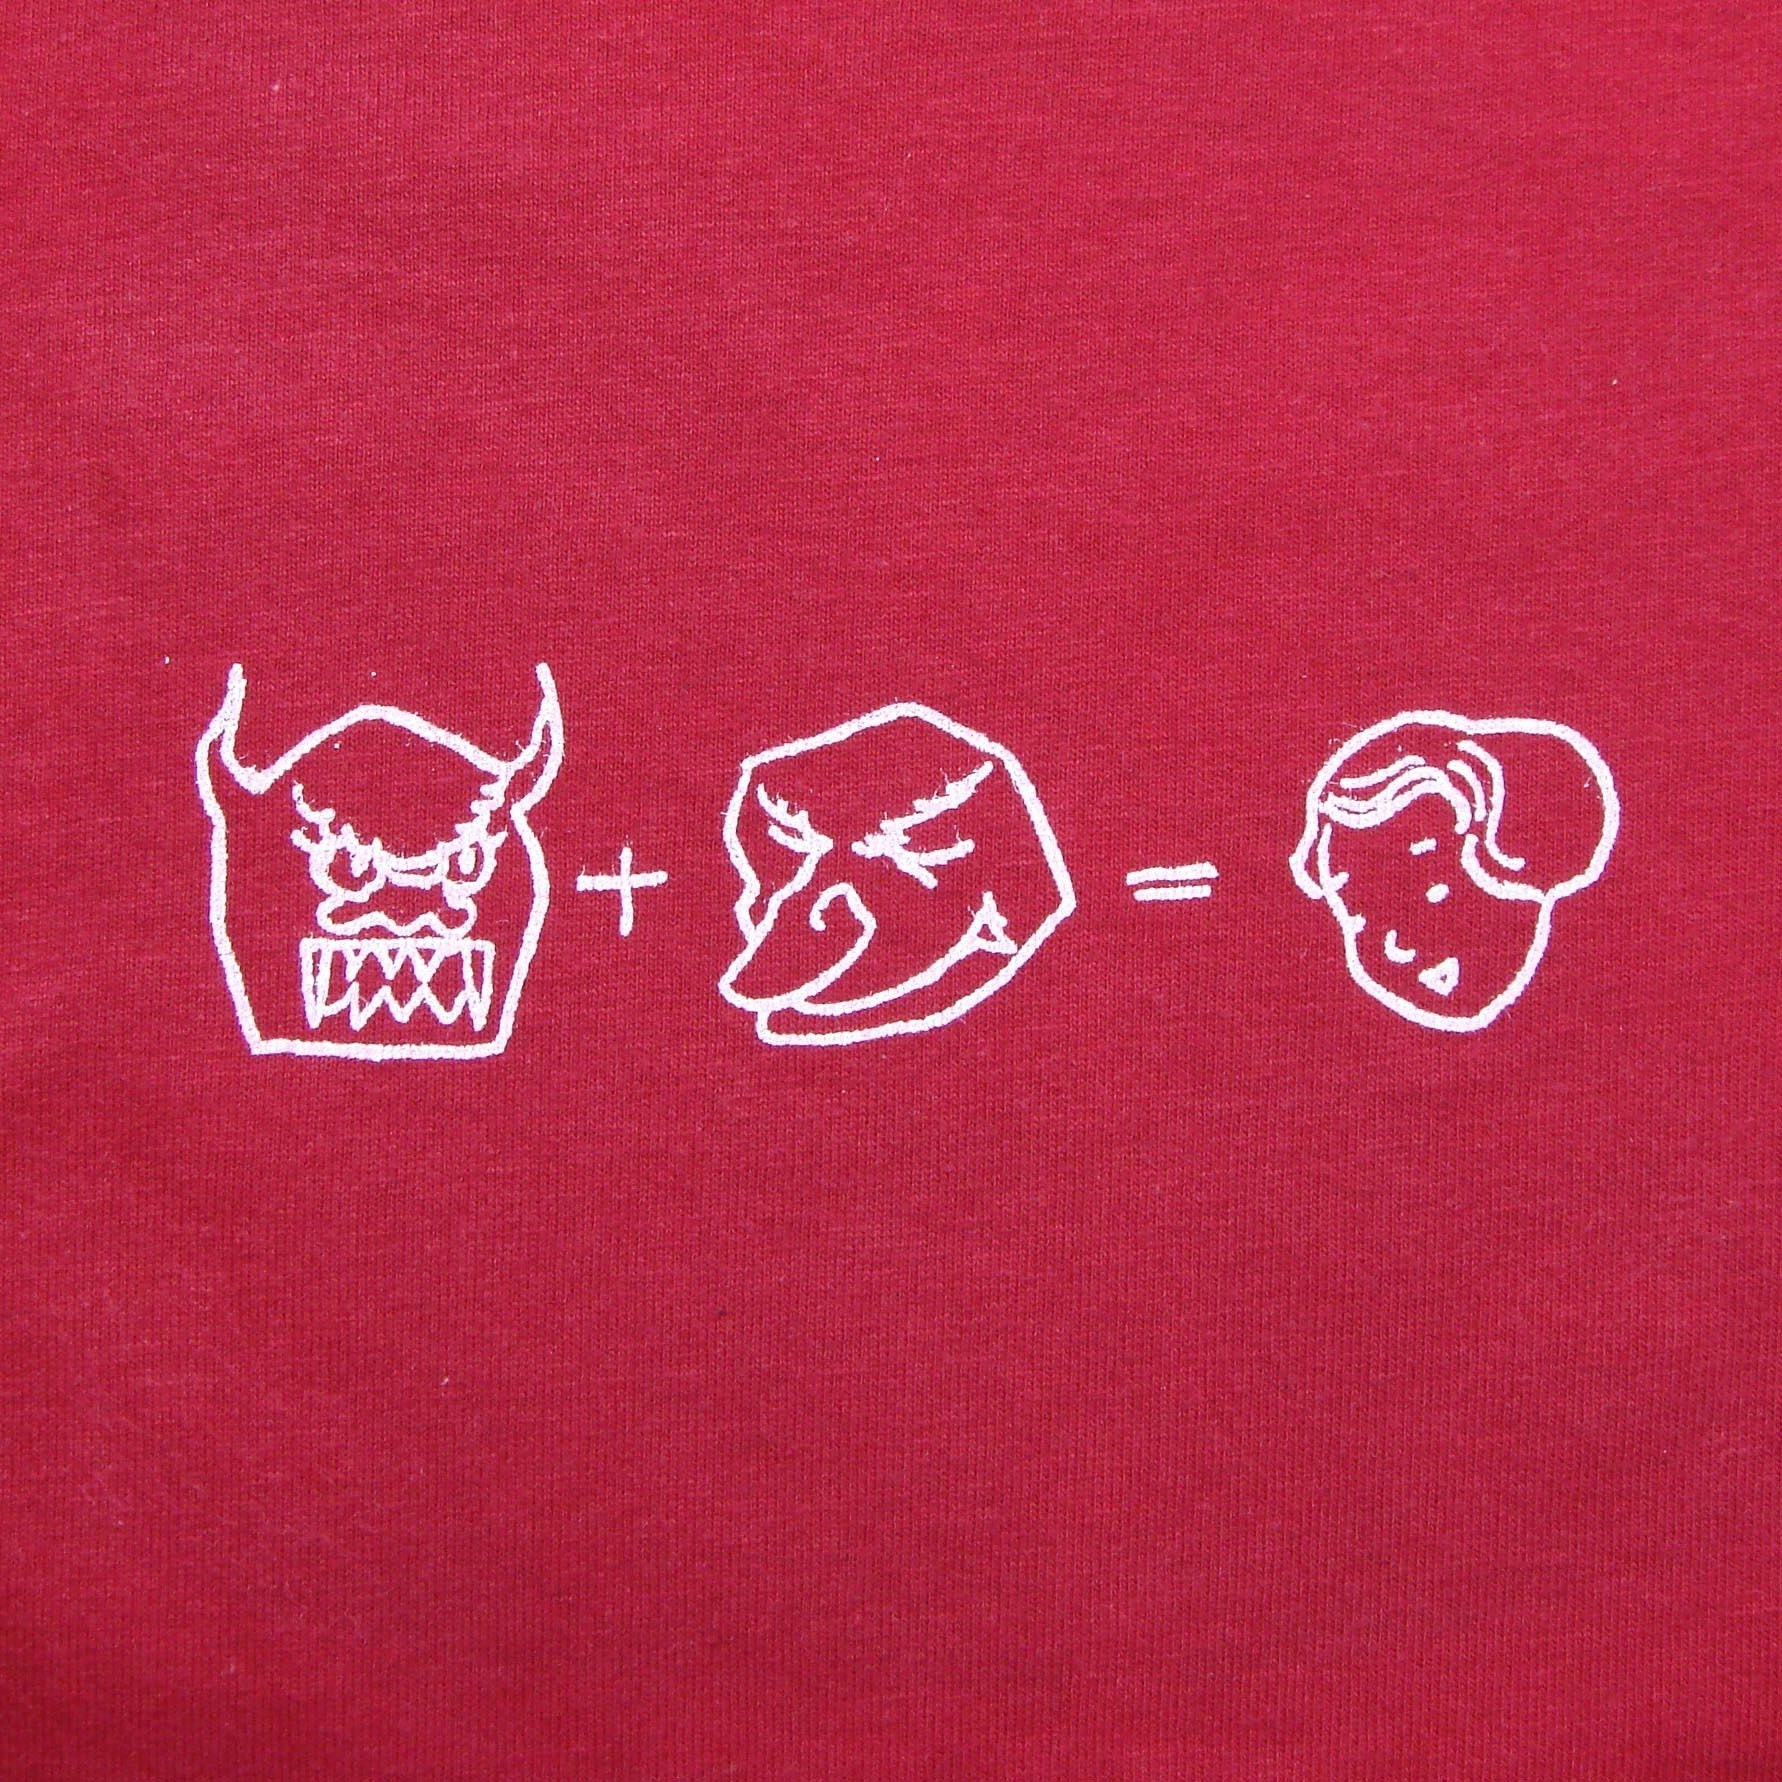
Ikyoto - My alter-ego is a mad scientist (I wear a lab coat when the air-conditioner is too strong), and love to hear how we live in the future (robotics, materials science, and biological discoveries). This aspect of my personality is definitely present in the Ikyoto shop aesthetic.


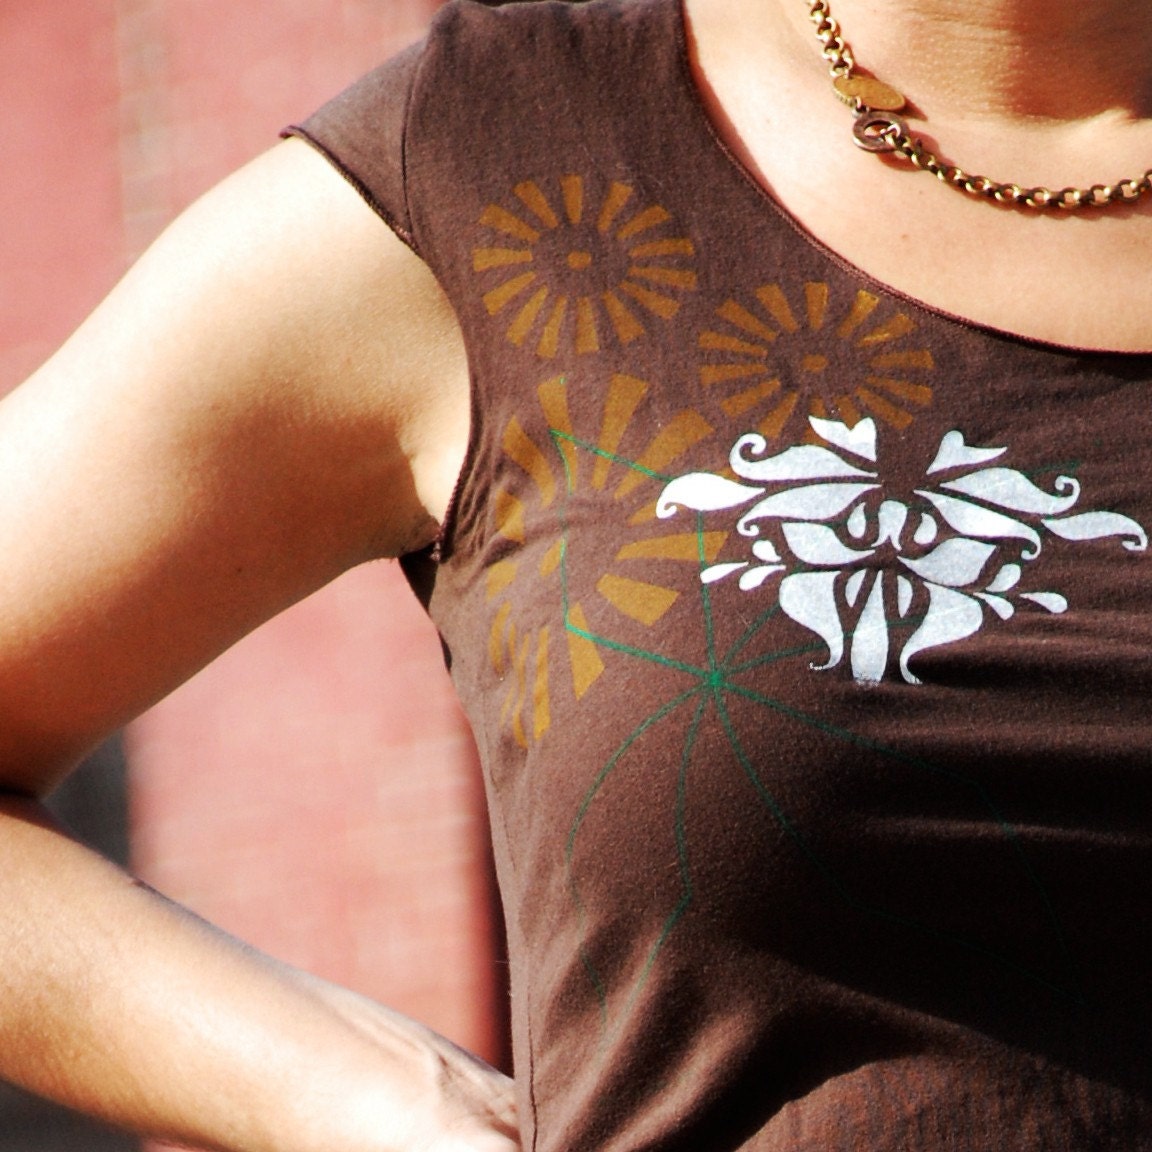
Kimmchi - Striking and bold, KimmChi designs are inspired by eclectic influences - from the ornamentation of India to the clean lines and decoration of Art Nouveau. The present collection of designs uses a mix of deco forms, urban elements and adornment.