Showing posts with label pillow. Show all posts

August 11, 2010

It's a {NewNew} School Year!

Head back to school in style with great gear from The {NewNew}.

Heading back to school doesn't mean shopping only at those big box department stores. There are plenty of unique hand crafted items that will have your kids (or you) going back to school in style.

Muppetloon
Orange Fleece Hoodie $20
Let's start with the tiniest back to schoolers. Muppetloon creates hoodies and tees that all the kids in pre-school will be asking for. Since they're there to get smart, check out the selection of wise owl togs with appliques made from Eco-Felt. Stylish and eco savvy everyone will be saying "Now that's one smart kid."


PlayGroundRockstar
VIP Tee $23
Have a little VIP who's all that and more? They'll head right to the front of the line (or class) in this Tee from Playground Rockstar.


LolaFalkDesigns
The Urban Lola Tote $38
Need something to lug those books around campus? Then you really want to take a peek at the Urban Lola Tote at LolaFalkDesigns. It has plenty of room for all your essentials and it looks so much nicer than that standard issue backpack.

AlexandraFerguson
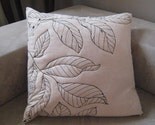
Call Your Mother Pillow $89
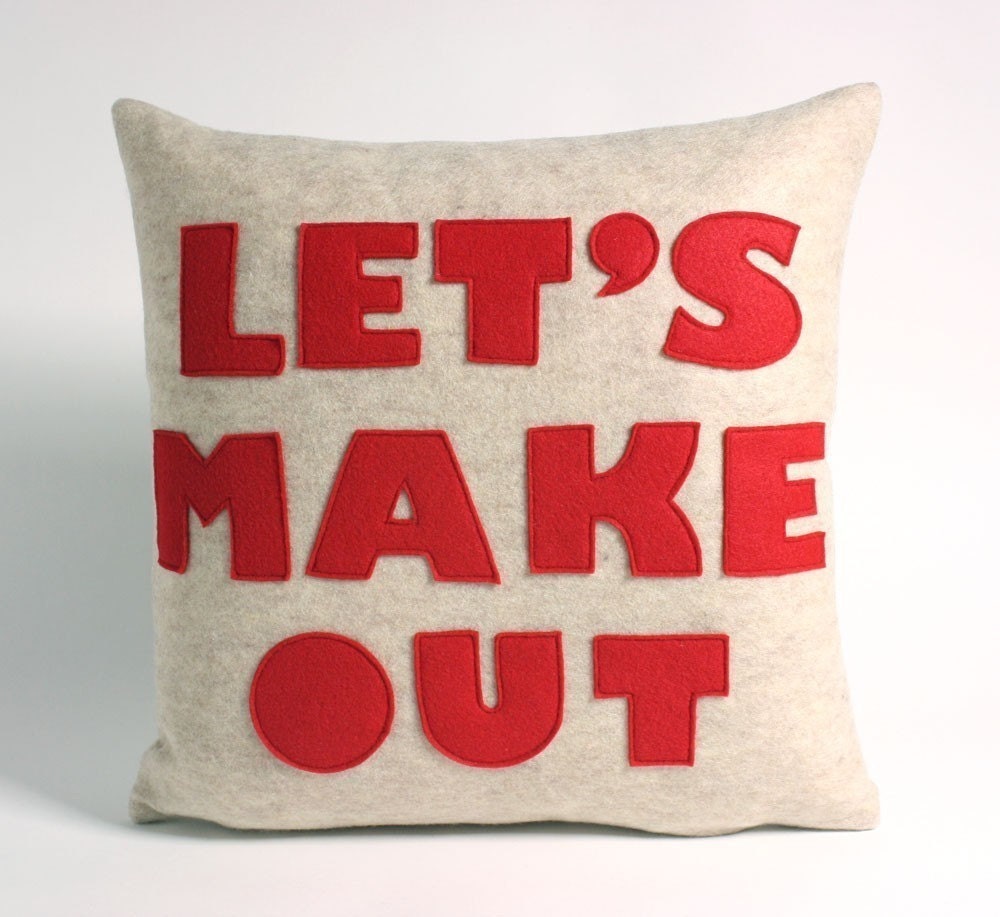
Send them off to college with a subtle reminder from Alexandra Ferguson. "Call Your Mother," "Clean Your Room" and other good advice on felt applique pillows. Made from 100% post consumer recycled water bottles, these pillows keep the equivalent of 4 bottles out of landfills. Now if only they can keep their dorm room from looking like a landfill!


Looking for more? Just head on over to Etsy and search on NewNewTeam (all one word). You'll find plenty of colorful magnets for their lockers and to display their A+ work on the fridge at LuCrafts and PurtyBird $6-12. Unique clocks that would look great on a dorm room wall from CantAffordEmClocks $20. Travel mugs perfect as they run from class to class at LennyMud $20 and a great selection of journals and day planners from PriaVanda $15 and up.

Have a stylish and successful {NewNew}school year everyone!
Holly (EllisDesign)

March 30, 2010

TUTORIAL: Re-purposed recycled felt helping your garden grow: now that's what I call ECO!

It is pretty safe to say that the Alexandra Ferguson studio generates a LOT of felt scraps in the process of manufacturing her collection of applique pillows. So when a local Master Gardener told Charlotte Ferguson (Alexandra's mom, and the brand's Roving Ambassador) about a clever trick to keep her spring seedlings well watered while depleting Alexandra's ever growing stash of scraps....well, it was too good to keep to ourselves.

Follow these easy steps to create your own low-maintenance indoor greenhouse:

1. You will need a panel of felt about 24" x 16". We pieced two smaller panels together to get the right size. I thought it would be fun to use up all the tiny scraps in rainbow colors to create a patchwork, but Charlotte was in a hurry. One quick seam did the trick. You won't see the felt once all the plants are on top of it, so don't worry about making it look beautiful.
2. Using a medium sized waterproof container (we used clear storage bins), place the black trays your plants often come with upside down (shown on left side of photo). The idea is that you need to get about 3" height, so anything you have around the house that would serve that purpose would work as well. Place your felt panel on top of your riser, making sure that the edges of the felt go all the way to the bottom.
3. Pour water into your waterproof container. Soak the felt thoroughly, with about 2" height of water in your tub.
4. Place your trays of seedlings on top of the soaking felt, and you are done! The felt will draw water up from the bottom as the seeds drink, so your seeds will always be perfectly watered and you don't need to do a thing!
Your greenhouse should be placed in a sunny spot indoors. We added a grow light, easily found at Home Depot or your local gardening store for extra oomph.

Two weeks later

To celebrate spring, Alexandra is giving away one of her botanical-themed pillows. Don't have a garden with windows full of seedlings? The 16" "Tulip" pillow in cocoa that she is giving away should more than make up for it! The best part? This flower blooms all year long.


Check out the rest of the alexandra ferguson collection on her etsy site,
www.alexandraferguson.etsy.com
including many other floral styles as well as her popular "Pillow Talk" line of sassy words and phrases. Alexandra works exclusively with recycled felt made from plastic water bottles. Every applique shape is meticulously cut by hand and stitched down in her studio based in Westchester County, NY. Just like everything in nature, no two are ever the same!

TO ENTER TO WIN:
You must be a FOLLOWER of this blog. Visit Alex's store HERE. Come back and leave a comment on this post and let us know what your favorite item in her shop was. One entry per person BUT if you twitter, blog, or facebook about this giveaway and leave a link it will give you extra entries.

This giveaway is the last on our series of March Madness giveaways-- It ends Tuesday, April 6th- winner announced on the April 6th blog post. Please scroll for two additional giveaways from the team that will also end April 6.

April 20, 2009

Favorite Things for Mom

Mother's Day is approaching and instead of the box of candies and pre-printed greeting card, why not find something truly special for the person who had such influence in shaping who you are.

Here are just a few suggestions created by the members of the {NewNew} NY Team:

Thank your mother with this whimsical stork about to take flight:


A is for Anna Jarvis who lobbied for years to create a nationally recognized holiday for each family to honor their mother.


The circle symbolizes infinity, eternity, and femininity. So what better way to celebrate your mother than with a pair of these earrings:


There are many more treasures created by members of the {NewNew} NY Team. Just enter "newnewteam" in Etsy's search box and you are sure to find a great gift.


Lydia
http://www.boxofjoy.etsy.com/ &


February 17, 2009

Pillowcase How-To

Refashioning Your Old Pillows

An easy way to add some spice to your space is just to change something superficial, like a pillow. If you’re disinclined to go out and buy new pillows, it’s easy enough to just cover up the old ones. Instead of covering my pillow completely, I’m going to make an envelope style pillowcase so I can take it off to wash occasionally.

My mom covered this pillow for me when I was in high school. I recently opened it up and realized that the original pillow is a Minnie Mouse pillow that I loved when I was 7. I’m no longer into either of these patterns, though they were perfect at the time. So it’s time for something new. After digging through my fabric stash, I found the perfect fabric to fit my life now. (Alternately, you can use old curtains, a moomoo from the thrift store, sheets, etc just find something you like.)

What you’ll need:
A pillow to cover
Fabric (a large enough piece to cover your pillow and then some)
Scissors
Measuring Tape (I used a measuring tape, a yard stick, and a hem gauge)
Pins
Sewing Machine (or you could sew it by hand)
Matching or Contrasting Thread
Tailors Chalk

Step 1

Measure your pillow. Mine is approximately 18 inches square, measured from seam to seam.

If you want a nice and snug fitting pillowcase, don’t give yourself a seam allowance when you measure out your front piece. My pillow is a little flat, so I’m going to make one large square of 18 x 18 inches for the front panel.

For the back panels, I’m cutting out 2 rectangles, each 18 inches long. One is 11 inches wide and the other is 13 inches wide. The back panels will need a seam allowance on the overlapping edges of 1 inch each, plus they need to overlap by at least 1 inch. I like a lot of overlap so that they stay firmly in place.

Use this to check what your overlap will be: Overlap = (Width 1 + Width 2) – 2” seam allowance – height of pillow.

Mine is: 11 + 13 – 2 – 18 = 4 inches of overlap (this might be a little bit of an overkill).

After you’ve figured out what size each panel should be, draw directly onto the wrong side of your fabric and cut out your panels.

As you can see, my back panels are a different fabric than the front. No rhyme or reason there, just felt like it.

Step 2

Using a measuring device (I used my hem gauge), fold over 1 inch of one of the 18-inch sides of each back panel, then pin and iron. Then tuck half of that under itself, so the hem is only half an inch, like shown, ironing and pinning again.

Using your sewing machine, sew each hem in place, taking out the pins as you come to them. I chose to use a thread color that matches the front and contrasts with the back panels.

Step 3

If you wish to embellish the front, now would be a good time to do so, however you’d like. I chose to let the pattern on the front speak for itself.

Now pin the pieces together with the right sides facing inside.

Overlap the top and bottom back panels, pinning well, so that together the two back panels match the front panel.

I like to have the top back panel on top when all finished, so I pin it underneath the bottom panel, so it switches when I turn it right side out.

You can choose to have right and left back panels instead of top and bottom. That’s especially nice if you have a longer rectangular pillow, instead of a square one.

Step 4

Sew it all together!

One seam around taking out the pins as you go works fine, I keep a ¼ inch seam allowance. And do backstitch both the beginning and the end, which are in exactly the same place.

Snip the corners off, careful not to cut the seam.

Step 5

Turn it right side out. I like to use a chopstick to get the corners all pointy. A pencil or your finger can work fine too.

And now stuff it with your pillow.

Et voila!

By Karen
www.KarensMonsters.com

May 5, 2008

Etsy Labs has reopened!

Starting tonight Etsy Labs is open again for their weekly craft nights! Etsy Labs was closed for the past few weeks due to a move from the 6th Floor to the 3rd floor of their 325 Gold Street building. The move is complete and the space looks great:

Julie [below] hosted a live chat on Etsy and gave instructions on how to make a pillow.


Danielle [in the photo below] and Christine worked on sewing the pillows. Check out all the Labs' sewing machines and sergers!


If you'd like to visit the Labs, the space is open to visitors every Monday from 4-8:00. The building is at 325 Gold Street in Brooklyn, which is right near Downtown Brooklyn, a close walk to several subway stops.


--Joanne------

March 17, 2008

The {NewNew} Housewares Shops

For more Accessories from the Metro New York area - search: newnewteam, housewares on Etsy


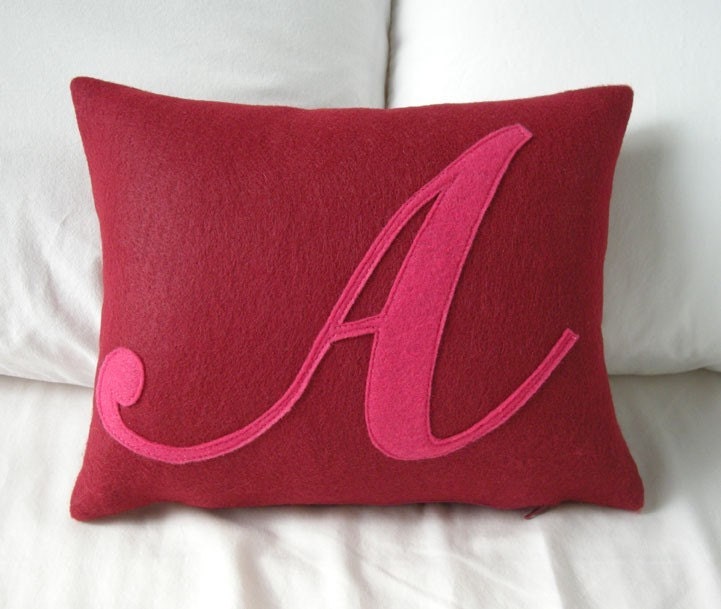
Alexandra Ferguson - State your opinion - and your convictions about saving the earth - with this must-have home accessories collection for the eco-aware. alexandra ferguson's appliquéd felt pillows are standard-bearers of increasingly rare, one-of-a-kind uniqueness and quality, made in the USA from beginning to end. Each pillow cover is handmade, with letters and shapes cut out individually and stitched into decorative motifs. A machine finish ensures lasting durability, and zipper closures afford access to removable inserts.


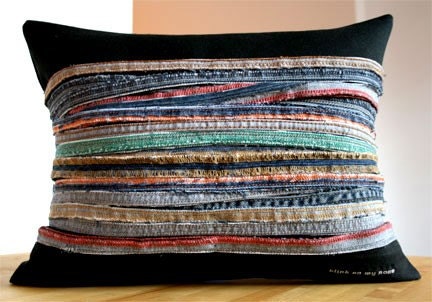
blink on my nose - I love texture and deconstructing fabric. I like ripping apart old fabrics/clothes and transforming them into something new. All of my pillows are created using recycled materials and each design is unique.

Cant Afford Em Clocks - Can't Afford Em Clocks uses old items (records, books, comics, furniture, bowls, etc...) to create interesting and unique housewares. The majority of what I create are clocks out of old records and videogame cartridges, but I also make candy dishes, ash trays, bowls, light switch covers, and other similar items.

Elements for Inspired Living - One-off fashion accessories and unique decorative items for the home handcrafted in NYC from a variety of materials and unusual combination of techniques.


Lovely Day Designs - I have a lot of fun (addiction may be a better word) searching for fabric and paper. If you want a custom magnet set or switch plate, please ask.


Miniature Rhino - I'm inspired by all things old and aging, objects with a story, like things found within a personal collection, like the cabinets of curiosities. I want science with my art, because I'm happiest wondering through the halls of a natural history museum.

New York Clocks - I design fun clocks from found objects. Clocks are desktop sized, usually the size of a postcard, 4x6 photo, coaster, small tin, etc.