Here are some handmade gifts with a little love from The {NewNew}:

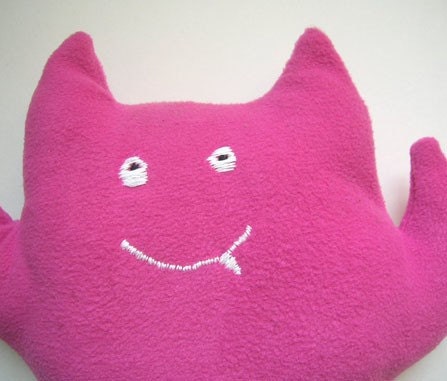
designer: mshoelace

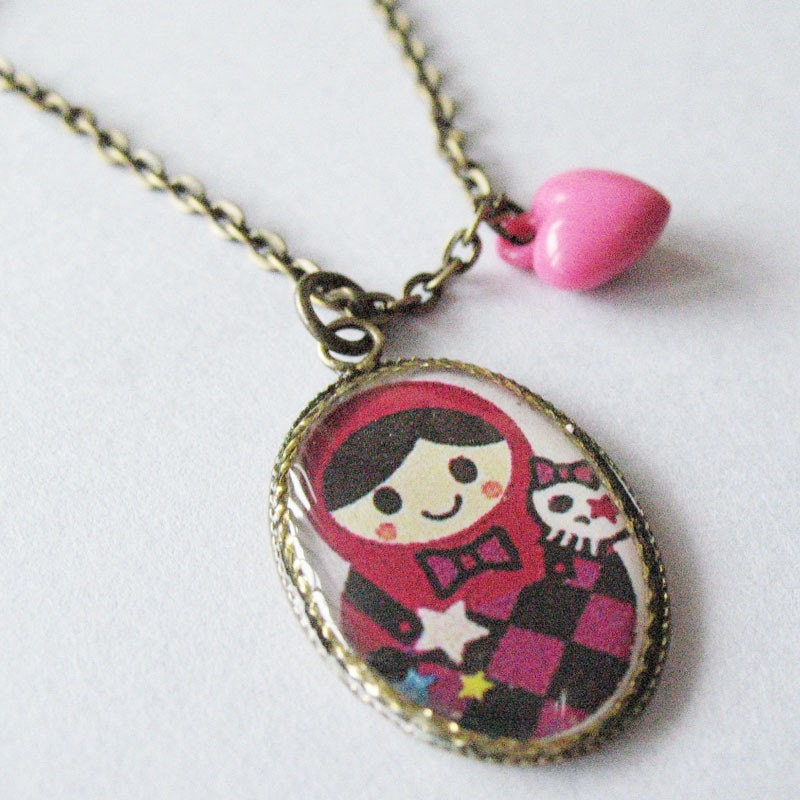
designer: KimmChi
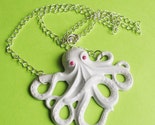
designer: pulpsushi
by Andria newyorkclocks


 The Old Croton Aqueduct tunnel was New York City's major source of clean drinking water from 1842 until 1955. The Aqueduct was built in response to the fires and epidemics that repeatedly devastated New York City in the late 1700s and early 1800s, owing in part to its inadequate water supply and contaminated wells. Water was delivered from the Croton Damn in Westchester's Croton-On-Hudson all the way down to 42nd Street in Manhattan, 41 miles total.

Today, the trail that follows the tunnels is enjoyed by joggers, hikers, cyclists, skiers, and nature lovers alike. You can start to enjoy this trail at the very north of the Bronx in Van Cortlandt Park or hop on Metro North's Hudson Line and get off at any of the river towns between Yonkers and Ossining. The trail will lead you through woods, parks, small river towns, grounds to historic mansions like the Lyndhurst Estate, and backyards (the residents are used to it). So visit the Croton Aqueduct, a budget-friendly one day trip outside the five boroughs.
 Marilyn ~ pulpsushi.etsy.com

I like to use old desk calendars as my designs (saving some paper while we're at it!) but of course you can use anything (ie: old magazines are great too!).
The size of one quarter is a perfect fit for the inside of a bottle cap. This is what I use to measure the image I wish to cut out.
You see it's a perfect fit! Next comes probably the hardest part of the project (which isn't hard at all) and that's mixing the resin together.
Resin? Wait a minute, how are you helping the environment using that stuff?
I understand your concern, but there are earth-friendly resins available that are less petroleum and more water-based, even corn resin (also known as polylactic acid or PLA). Moving along, you follow the instructions provided on the box - usually it's just mixing one part resin, one part hardener. Slowly pour your resin into the cap, do not fill it to the top or it will get pretty messy.
I use a toothpick to try to pop any big air bubbles that may appear and to also keep the image flat on the bottom, it will want to push up to the surface so you must keep an eye on it for the first couple of minutes or else it will dry unevenly. Let the caps dry overnight. Once ready simply glue the magnet cap to the back and presto! Your own unique magnet!
Feel free to use other parts of the image in other new ways too...
 Marilyn ~ pulpsushi.etsy.com