
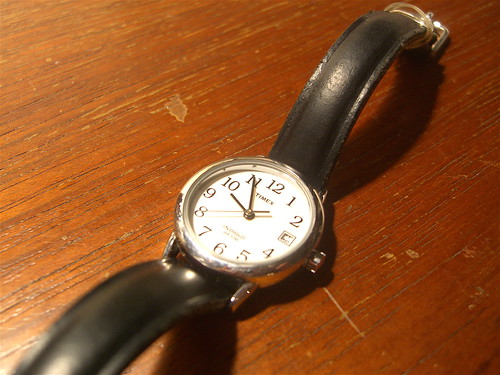
but i don't love the janky band, especially since it broke and i had to press a hair elastic into service to hold down the end:

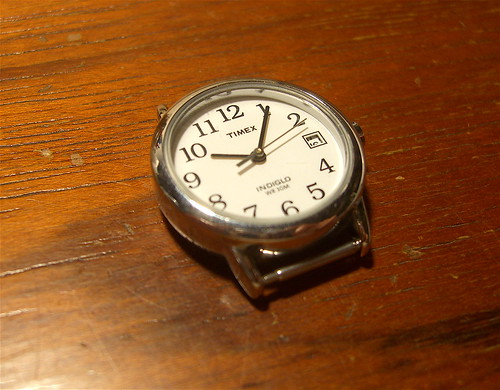
clearly, it was time for an upgrade. i decided to go for a cuff style.
first i removed the band, leaving the crossbars.
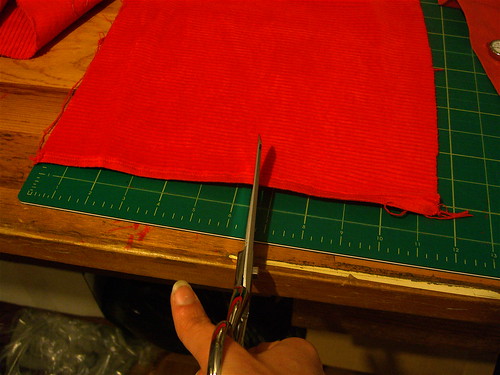
then i found a fabric that i liked and cut it up. i made the length the circumference of my wrist plus an inch and a half for seam allowance and overlap for fastening, and made the width as wide as i thought looked good.
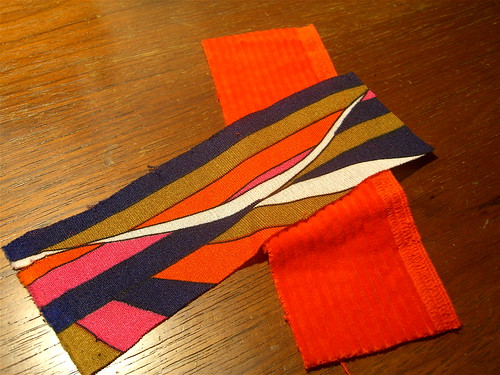
i then cut the same size in another fabric--because i had chosen corduroy for the front, i used a thin fabric for the back so that the end product wouldn't be too bulky.
i placed the two fabrics right-side-together, pinned them, and sewed up on both long sides and one short side.
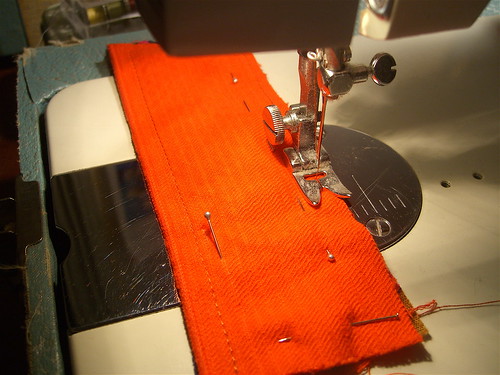
i snippped the corners...
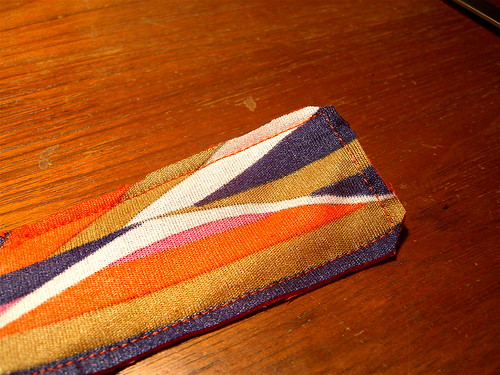
...and then turned it inside out, using a letter opener to poke the corners into shape (anything semi-pointy will do---a small crochet hook, a pencil...). then i turned the ends of the open side in and sewed them up. next came a fastener. i had some snaps in my sewing cabinet, so i went with that:
but you could go with lots of other options: a button, hook and eye, velcro, whatever.
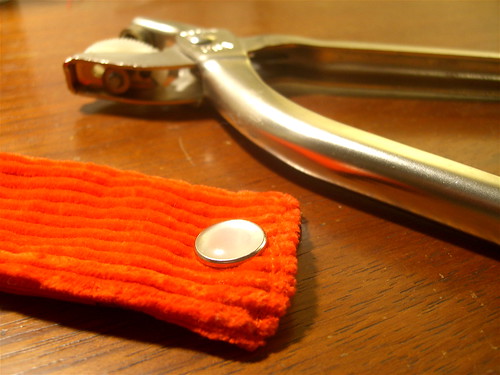
then i sewed the watch on to the band. i realized as i was doing this--and having to be really careful to only go through the top layer of fabric so that my stitches didn't show on the back--that i should have sewn the watch on the the top fabric before i sewed the two pieces of fabric together. so, learn from my mistake! i just sewed around the crossbars, at the corners, using thin thread that matched my fabric:

but you could use embroidery thread or yarn, in the same color as your fabric or a complimentary one, and make the stitching more of a decorative element.
and, voila!
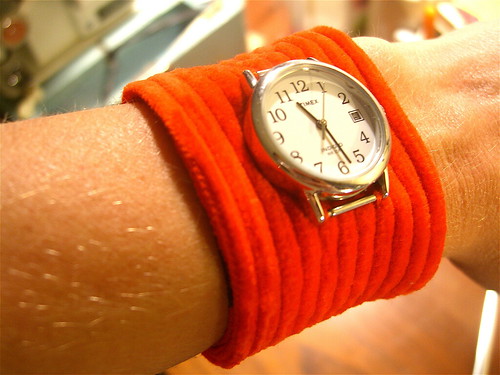
stylish and comfy.
 - cakehouse
7 comments:
I've been thinking of redoing my watch band as it's far past it's prime too. I really like the way yours came out. I think I'll try it!
I, too, am a victim of worn watch bands (I go through them too quickly). I had thought of using fabric, but wasn't really sure how to go about it.
Thank you for this tutorial! I love it, and definitely want to try it.
beautiful!
that looks awesome, such a good idea!!
Yes, that looks great! What a wonderful idea and great tutorial!
very nice idea and tutorial. maybe i'll attach my cell phone to my wrist...just kidding!
Great idea!
Post a Comment