Showing posts with label travel. Show all posts

July 29, 2009

How-To Find Foreign Thrift Stores & Flea Markets

When I started planning my first trip to Italy this spring, the Wardrobe Refashion Challenge seemed like an excellent excuse to seek out ways to buy used and handmade garments as souvenirs. Thrift stores and flea markets are some of my favorite places to shop at home, and at first, finding these options abroad was proving challenging. I like to shop in smaller cities with an eye for bargains and an element of the hunt, but many of the shops whose information was available in English or had been blogged by foreign tourists seemed a little pricier and in major cities. Our trip was through Venice, Bologna and Ravenna. Since Venice is both expensive and very touristy, and Ravenna was only a one day stop, we decided that Bologna, a famous college city, would be the place to shop. I had trouble finding anything there to suit my taste until I discovered a few foreign language search tricks.

Here are two ways I used to find places to shop using Google Translate.

1. Translated Search - Easier for people who don't like language puzzles. Very simple and straightforward, but I found that the end results were a little less good. Just use the search terms you might normally use (e.g. flea market Bologna) to search the web, but choosing the English -> Italian options. Keep in mind that you might need to try several variations of word combos, since what is a "recycle shop" in one language might be a "thrift store," "ops shop" or "used clothing market" in another.


La Piazzola
This open air market was found using the first method. Every Friday and Saturday there is a huge market that has sections devoted to both new and used items. There were housewares as well as clothing and accessories, but one big surprise was the number of counter-culture type booths.

I purchased a fabulous handmade vintage dress with sailboats for only 10 Euros. My partner who is not doing WR Challenge got a new Italian belt and underwear.


2. Hybrid Search - In this method I translated many different phrases for what I was looking for into Italian, and put them into a regular Google Search.


By scanning the search results in Italian for repeated phrases, I picked out new search terms that were more natural in Italian such as "usato e vintage," "negozio dell'usato," & "mercantino dell'usato." I looked at the translated versions of these sites to see what I had found. Repeat the process until you find the best search terms. While doing this, keep in mind that if the search page prompts, "Did you mean...?" and gives an alternate phrase, the answer is probably yes.

Mercatopoli
Since this one was part of a chain, it seemed like a jackpot choice. There were 4 just in Bologna, and if we ever went to Italy again they seem to be everywhere. The selection was like a lower end thrift shop in the U.S., but I did see some amazing things such as the handmade vintage dress that I purchased for 6 Euros.


Cose d'Altre Case
Our biggest haul was from here! They had a great selection of very nice housewares, clothing, jewelry, books, etc. They also had framed and unframed prints that would make excellent souvenirs. We picked up a hand-blown carafe, an enamelware pot, a men's shirt and a women's shirt for just 20 Euros.


We had a great time shopping in Italy, and will probably continue our thrift store adventures on future trips. So if you have any suggestions for the best search terms in other foreign locations, please add them to the comments!

~Kari
http://ikyoto.etsy.com

July 17, 2008

Indie-pendent Craftepreneurs of the Bahamas Straw Market

by Lorina of The Original Beadscarf

Who doesn’t love to visit local markets while traveling? Sure you have your usual souvenir suspects: shot glasses, t-shirts, caps, the list goes on. But my favorite is always the local craft, especially when the person who created the item is also the person selling it. The item just seems to have more meaning.

On a recent trip to the Bahamas, I visited the Straw Market. The largest of its kind in the world, the Straw Market houses some 200 vendors selling everything from those ubiquitous tourist t-shirts and counterfeit handbags to figurines and toys.

But just past that knockoff “status” bag, you will find the most prominent of all the items. They are the bags, hats, fans and baskets all made from colorful straw, and their purveyors working tirelessly on these items.

These are the indie-pendent craftepreneurs of the Straw Market. Tourism is the most viable industry of the Bahamas and these craftepreneurs are ready (and eager!) to provide a personalized straw item on-the-spot! For many of the vendors at the Straw Market, this is their primary means of income. You can find them stitching dried palm and sisal plants, which are sometimes dyed, to create beautiful and useful souvenirs every day of the week.

At this market, I also found someone who created toys from recycled soda cans.

A fun day out, the Straw Market in Nassau, The Bahamas is definitely worth the trip!

All text and images
©Lorina Pellach Ladrillono 2008

June 29, 2008

Handmade Postcards - let your crafts do the traveling!

Blech! It sure has been hot and sticky this June! Even with all this glorious talk of travel and crafting on-the-go, sometimes it’s nice to settle down with an icy cool glass of lemonade in front of the AC and do some travel-inspired crafting in the comfort of your own home. To that effect, let’s make some handmade postcards! We can dream up collages inspired by faraway places, and then, our handiwork can do the traveling for us. This is a great, cheap, quick project to do with friends, kids, or by yourself, and the variations are endless. Most of the stuff you’ll use is probably already in your house!

All you need to get to work is:

  • Something to cut with
  • Something to cut up
  • Something to stick stuff together


In this picture, I’ve assembled shoeboxes, scissors, magazines, clear tape, chip brushes, and every crafter’s best friend: Mod Podge! If you don’t have Mod Podge, I’d recommend running out to your local craft or art supply store to pick some up. This stuff is glue, sealant, and pretty shiny surface all in one! It makes all collage projects really sizzle, and you can even use it for jewelry projects and more. But, it’s not completely necessary to make postcards – you can use regular white Elmer’s glue, or even clear scotch tape or packing tape!

The first step is cutting out the basic postcard shape. If you have any shoeboxes lying around, they make excellent postcards. The card stock is usually the right thickness and they're typically white on one side (where you're going to put the address); plus, one shoebox is enough to make over a dozen postcards. Talk about upcycling!

The easiest way to prepare the shoebox is to remove the lid and cut down each of the four corners, from the lid to the bottom, so that you have one flat piece of cardboard.


Then, you can either trace a postcard you have, or just measure yourself. Many smaller shoeboxes already have great sizes built into the bottoms and sides.

****note! USPS guidelines dictate that your postcard must be between 3.5x5” and 4.5x6” – so if you want your postcard to be mailable without the risk of return to sender, heed these size restrictions!****


Cut out the rectangles with scissors, or an X-acto knife if you’re especially crafty. Frayed cardstock edges can be cleaned up by carefully running the sharp edge of the scissor/knife back and forth along the ends, perpendicular to the cardstock.


If you do NOT have any shoeboxes lying around, never fear! A clever alternative is to dive right into those magazines you’ve lined up for collage selections, cut out 4-5 postcard-size pieces from the front or back cover, and staple, tape, or glue them all together. If you use glue, be sure to use thin coats and wait for them to dry to avoid wrinkles.

Other places you might find usable cardstock/cardboard:

  • Back of a legal or other notepad
  • Junk mail
  • Boxes of envelopes, cleaning supplies, frozen dinners, video games, … etc!!

Now comes the fun part – collaging!! Going with our travel theme, I thought about how fun it would be to yank people out of their advertisment-paradise. Perhaps Ms. Bikini Model would like to spend some time with a mound of dirt?? Cut or rip out the pictures, get creative! If you want to cover the postcard with a background, use the cardstock to trace the right size.


If you’re using Mod Podge or Elmer’s glue, the first step is to glue down the pictures with just a SMALL amount of adhesive. Less glue = fewer wrinkles!

Tip: if there's a nice, clean white side to your shoebox, and a brown or less nice side, glue to the less nice side, and leave the nice white side for writing your message and address.

Then, if you’re using Mod Podge, the best way to apply it to the surface is with a handy chip brush. My 1” chip brush was literally 50 cents. Not a bad buy! Regular bristle brushes are totally fine, but need to be cleaned immediately to avoid permanent gunkiness. You can use your fingers if you’re low on time, money, or the motivation to go to the craft store (hey, it is really hot out there!!), just be sure to clean up your fingers! Oh, and please don’t let kids put glue/Mod Podge on their hands.… Pour a little Mod Podge out into a small bowl or jar, and spread it thinly and evenly over your pictures. You may want to start in the middle and work your way out to try to keep the edges as flat as possible. But wrinkles are bound to happen with cheap magazine paper! Embrace the wrinkle.


You can use normal Elmer’s glue here, but you have to mix the glue with equal parts water beforehand. This works VERY well with tissue paper, because it absorbs the watery glue. It’s not quite as good with magazine paper, especially since it sometimes stays a little cloudy even after it dries. But it will keep those edges down and provide a slightly more even surface. You can always just glue underneath and leave the edges to the mercy of the post office!

Packing tape can be a really fun way of attaching pics too! It gives it a nice industrial effect – good with maps, newspaper, and other less glossy materials. Instant shine! Be aware - there will be some tape overlapping to the white side. Work with it :)


The very final step is making sure you have a surface to write on! After all, postcards are all about communicating. If you used a plain white shoebox, you’re good to go! Felt tip pens write most easily, but you could always use ballpoint pens, markers, pencils….

If you used magazines or any cardstock that isn’t white, you can just paste in a plain sheet of printer paper, notepad paper, or any other salvaged paper that’s free of extraneous typing remnants. A secret source of glossy white paper can be found in magazine ads – just look for VW, Apple, or other such classy products! There’s much white space to be found if you do a little flipping.

If you’re fantastically crafty, you may even have gold and silver fabric pens. They write on anything, even multicolored magazine ads.


And now you’re done! You can collage all kinds of things onto your postcard … ticket stubs, photos, tissue paper, even little bits of fabric. Send some memories to a friend – just be sure to add 27 cents for postage!!

June 18, 2008

Travel inspired designs

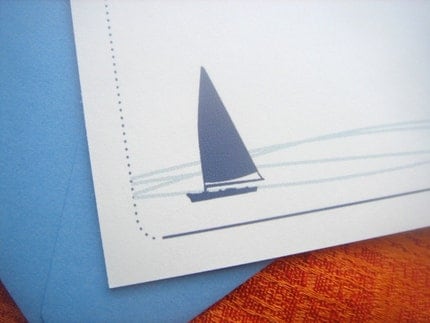
ahhh, going away, the wind in your hair, the lure of a boat on the sea....
Fubabee captures it in a card


Dripstick has a whole line of Travel Inspired prints, from Toyko to Seattle.


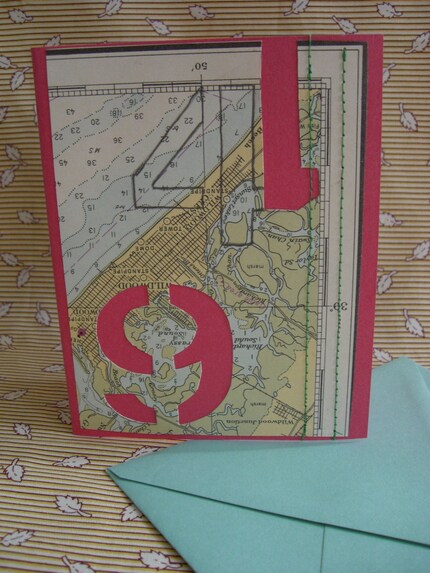
LoveForever has this great map inspired card.


-Kimm
KimmChi.etsy.com

June 16, 2008

New York inspired makery

We all get inspired while on vacation, the site sounds and smells of a new environment always seem to get the creative juices flowing. Many times a place can inspire you to create - and New York is no exception. Inspiration abounds in the city that never sleeps! See below for some {NewNew} examples of New York inspired design.

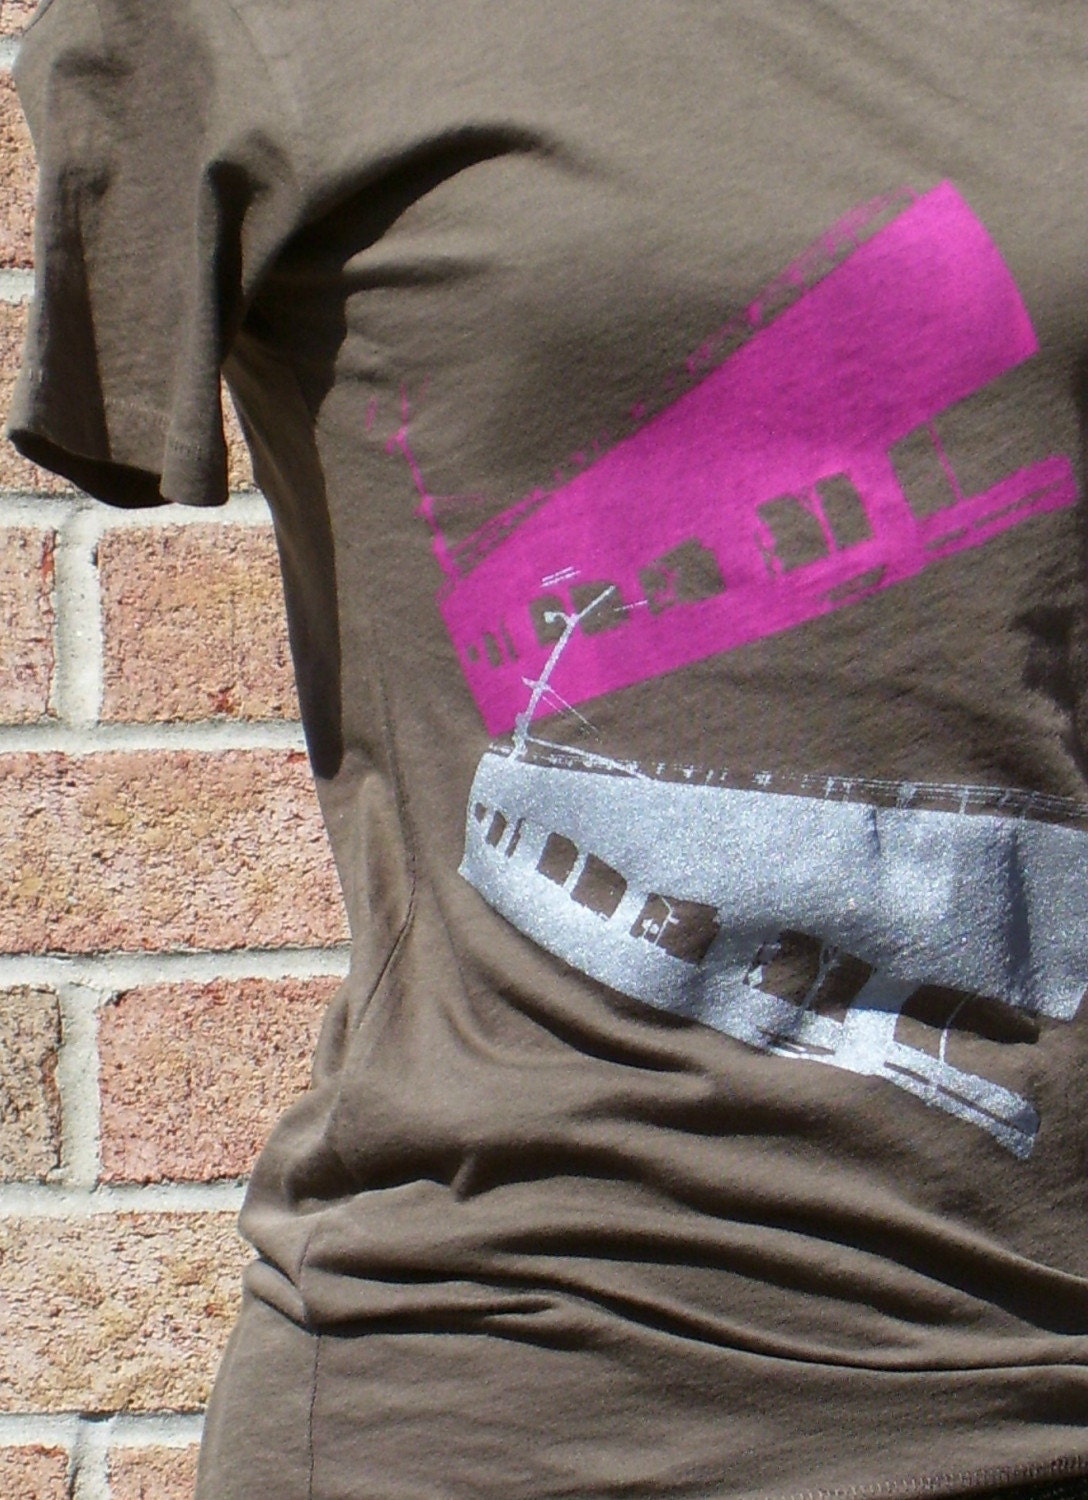
Bungaloe
This shirt is a hand print of the elevated line that carries the A train into Rockaway from Manhattan
AWESOME
Keepin it local!


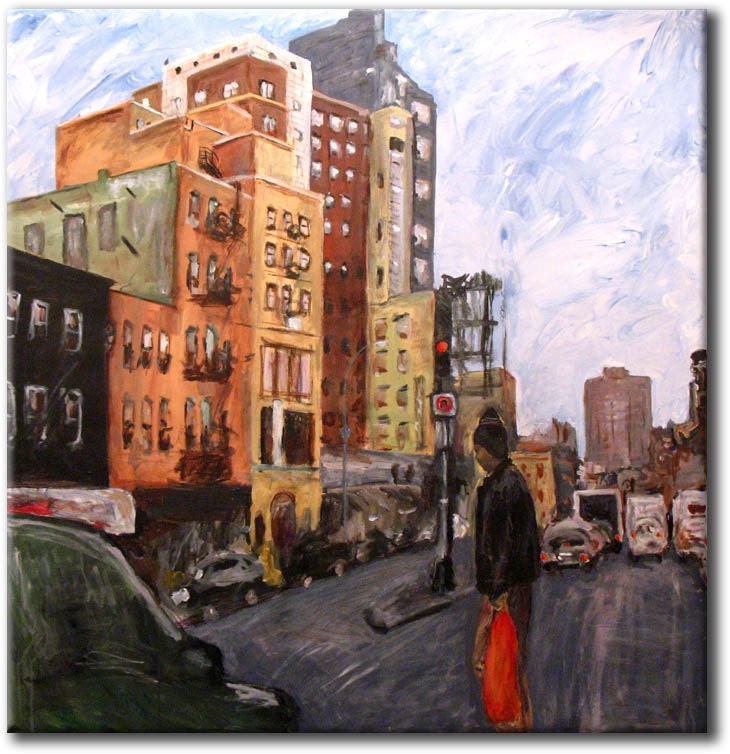
I love this print from ArtByIris, it's totally how I remember the Bowery. She has many paintings that reflect the city aesthetic.


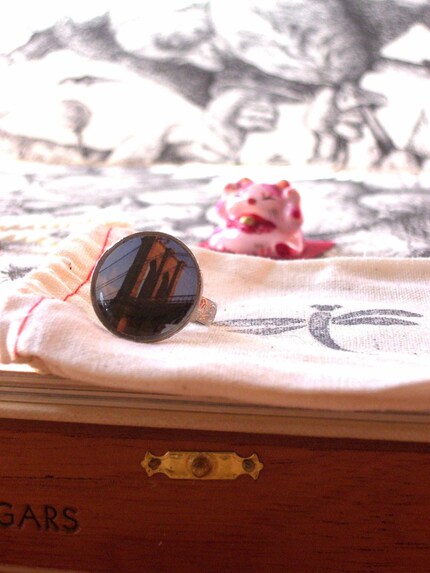
Brooklyn inspiration by WabisabiBrooklyn.


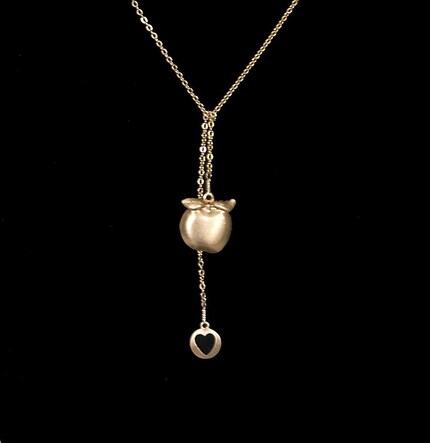
Or this super cute I Love New York Lariat by EmilyEJewelry


-Kimm
KimmChi.etsy.com

June 14, 2008

Etsy in Italiano

As I prepare for my trip to Sicily, I find myself using the "Shop Local" feature on Etsy to look for Etsy sellers from Italy. As with all of Etsy, there is a broad range of shops. Here are a few of my favorites.

Quality Italia sells boxes and more hand crafted out of Sicilian hardwoods.


The Murano-trained, Rome-based artist behind izzy creates striking, modern jewelry with her lampwork beads.


Genoans Matteo and Francesca of Sunflower Design offer a veritable garden full of bags in colors that range from the subdued to the psycheldic.


Coccole di Lana (loosely translated: "woolen cuddles" [sounds better in italian]) has some stunning capelets, scarves, neck warmers, vests, and shrugs made from high-quality yarns.


Wendy Humphreys of ALPHABETTISPAGHETTI splits her time between Italy and the UK. Her beautiful jewelry is entirely hand crafted.


And lastly, nel dubbio disegna fiori (WHEN IN DOUBT DRAW FLOWERS) uses vinage vinyl wallpaper from the 70s to make everything from wallets to boxes.


It's certainly gotten me revved up for my trip to dip into the Italian made goodies on Etsy. Perhaps that's the way to go to buy souvenirs if your travel plans this summer are more of the armchair variety.
Cíao for now!
-MaryAnne
wabisabibrooklyn.etsy.com
wabisabibrooklyn.com

June 11, 2008

Journal & Scrapbook your next vacation

Whenever I travel, I take tons of photos. I’m sure you do too. Most people keep the photos in an album, in a box or leave it on the computer for future reference. What ends up happening though is that the photos get lost within the million other photos that are taken.

The next time you go on a trip, do yourself a favor, and get a small notebook or journal. Remember to grab a pen too and take some time to jot down your thoughts during the journey. It doesn’t have to be a huge essay and you don’t need to add in all the historical details (that’s what the internet is for) but what is most important is that you jot down how you felt upon discovering a new destination; be it the grand beauty of the ancient ruins of a Mayan civilization, eating through Tokyo or immersing yourself in the world’s largest living organism, the Great Barrier Reef. (I have experienced all three) Although a photo is worth a thousand words; pairing a photo with a small description, especially of your own thoughts is priceless.

Aside from journaling, another great tip is to keep your eyes open for free mementos. Scout out free magazines that include all the different excursions you’ve done. Those with photos are even better. Keep those airline tickets, train tickets, brochures or any ephemera you may obtain along the way. Here’s another tip: At the end of the day, when you get back to your hotel, take those brochures, tickets and receipts and separate what you want to keep and what you don’t need. If you can get a pair of scissors it would make the task much easier. If not, just fold along the parts you want to keep and carefully tear it. Give yourself room for error; you can always clean it up with scissors when you get home. Put everything in an envelope or if it’s small how about storing it in one of my altered tins (decorative and practical) so this way you don’t end up going home with a pound of garbage and nothing will get lost.

I wish I could tell you that I have journaled and scrapbooked every vacation I’ve been on. Sadly, I have not. However, I do have one that I can share with you. Here are a few layouts of my trip to Australia.


On the bottom left, I created a "post card" and added a real Aussie stamp.

Magazine clippings and a business card from an Italian restaurant that we dined in.

Airline tickets.
And last, a bit of journaling to make it truly ours.

Wai Sze

http://waisze.etsy.com/

June 8, 2008

Crafty Inspiration in India

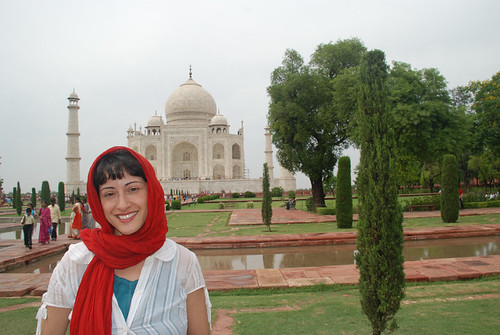
I just got back from a whirlwind 10 days in Northern India - Delhi and Agra. Here's me at the Taj Mahal in Agra. It was truly spectacular. Beyond the wonderful sights and food, I got to explore the strong craft tradition that India has, it was truly inspiring.

One of my most memorable days was spent at the Craft Museum in Delhi, wandering through its galleries to see its wide range of metal work, sewing, pottery and painting. Though this museum was actually set up by the British during their ... ahem ... stay, it covered a wide range of India's crafts. Below is a photo of a small piece of a wall full of paintings that narrated the Ramayana. I usually imagined the famous miniature paintings of India when I thought of it's painting tradition so this was a departure from that. This was an extremely large appliqué that hung on the ceiling of the main gallery. I loved the patterns on it - very beautiful. All of the textiles that we saw during our stay were beautifully patterned in bright eye catching colors with many floral motifs like this one on the appliqué.

There was such a focus on decorative elements and details in everything, from textiles to wood carving, embroidery, masonry (see above photo of the semi-precious stone work inlay on the Taj Mahal) to even your body! Their wonderful tradition of mehndi is a henna dye technique that is applied to you hands and feet. The tradition began as a decorative ritual for weddings, but has spread to be more widely used for other celebrations as well.

I can feel the wheels on inspiration going already!
So much pattern and decoration, really inspiring, i see paisley inspired tee shirts in my future with bold colors and an emphasis on natural forms.

I found some of these items from the {NewNew} using the techniques I saw in India; applique and embroidery with rich colors and floral patterns.


-Kimm
KimmChi.etsy.com