February 21, 2009

Craft Ideas For Your Valentine's Roses

Wondering what to do with those roses you got for Valentine's? First dry your roses by hanging them upside down. Spray them with hair spray or to really make them last, you can use this. Let them hang for about 1-2 weeks. Here are a few ideas to get you crafting with your pretty dried roses:

*Take an plain picture frame, trim the rose buds from the stems, adhere just a few buds to a corner of the frame. Place a picture of you and your sweetie from your Valentine's Day together, or any memorable photo.

*Use the rose buds to decorate a plain hair clip or hair comb. Wrap the rose ends with floral tape or ribbon then glue to the hair accessory. Decorate a messy bun or pull back one side of your hair back right above your ear.

*Fill a clear glass vase with the dried rose buds and use as a table center piece. You can also place the rose buds in a pretty bowl and add some eucalyptus for a simple potpourri.

-Misty
www.lapistolera.net

February 20, 2009

Where to find the {NewNew} on Feb 21 + 22


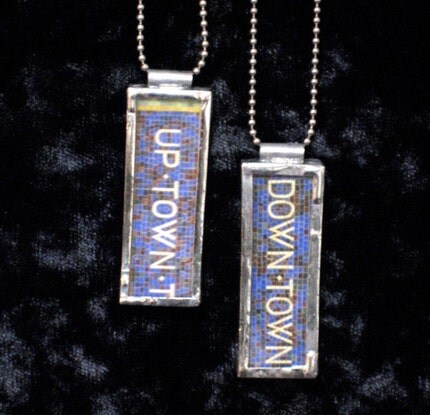
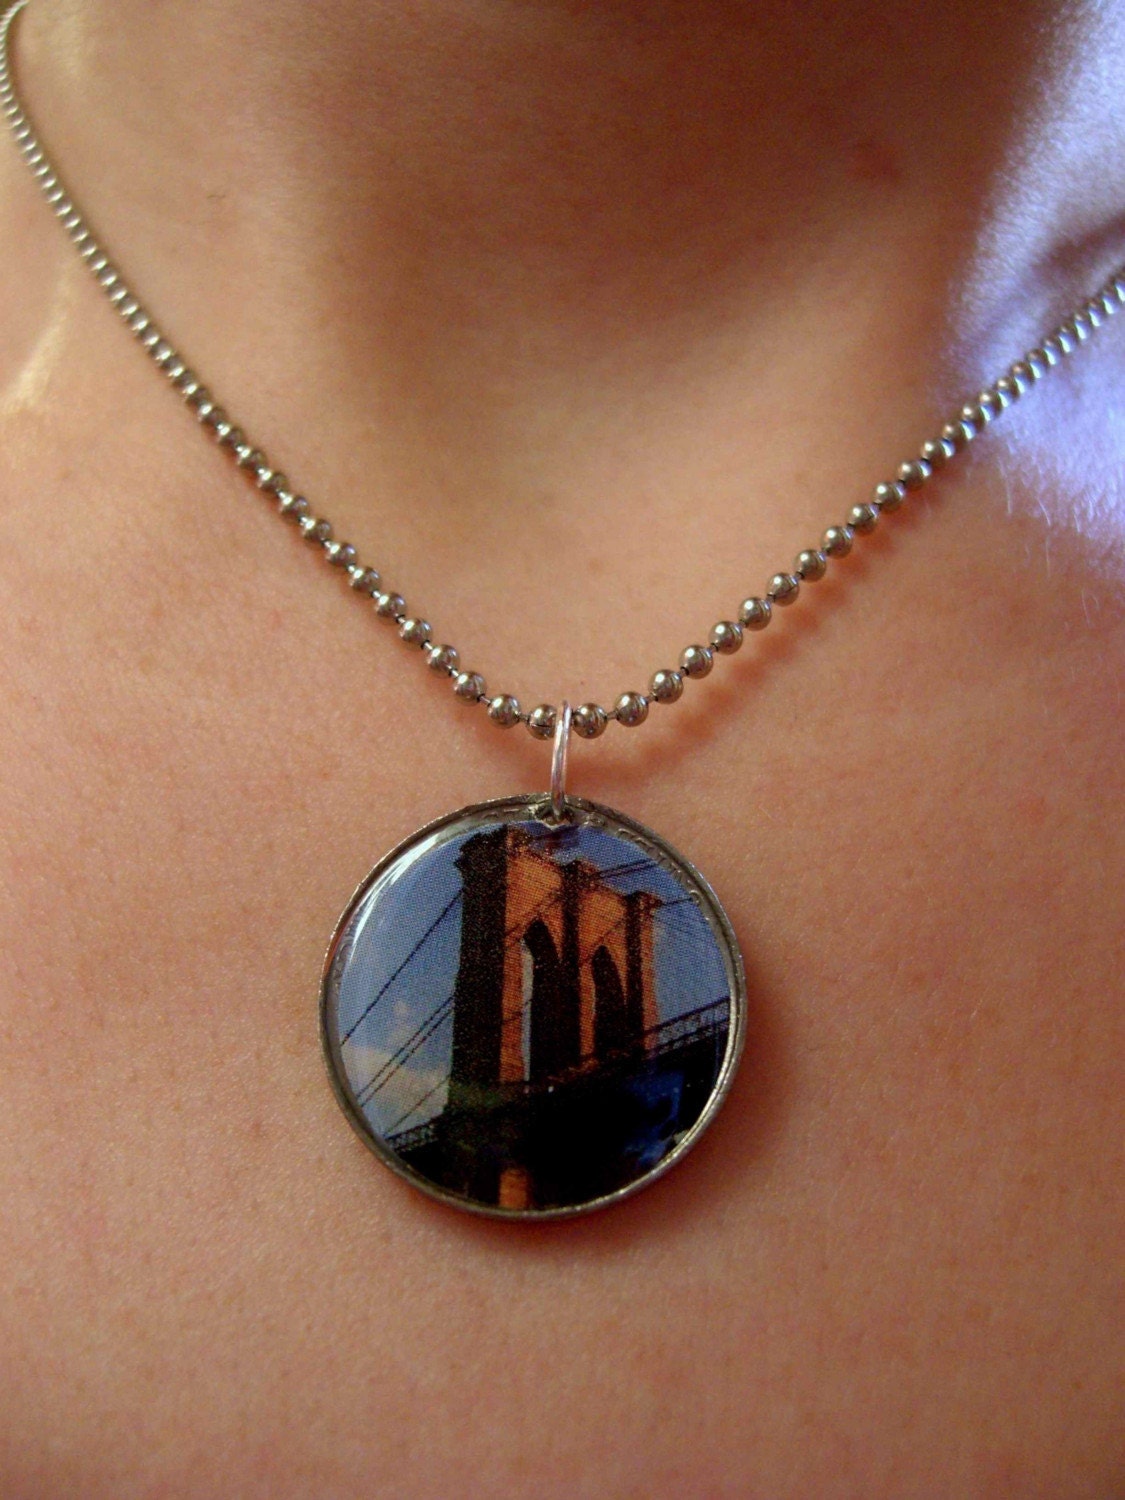
The {NewNew} will be back in Dumbo this weekend. On Saturday, silkscreened accessories by redbridge, monsters by karensmonsters, and jewelry by joyella. On Sunday, organic knits by wrenstore, jewelry by yaniamor as well as jewelry & cards by prismpop // pcharming. Stained glass pendants & jewelry by Citybiz will also be present on both days. [MAP]


Wai Sze

http://waisze.etsy.com/

Things I Love about NY

As a Native New Yorker there are so many things I love about this city.

Living in 5 different countries as an ex-patriot made me miss the sights, sounds and most of all the food.

My favorite treasure is NY Cheesecake. At 4 inches high the rich, creamy and surprisingly low sugar (only 1 cup) desert is a hit every time.

Here is the recipe:
Ingredients:
1 ½ cups Graham cracker crumbs
1/2 cup butter
38 oz cream cheese, softened
1 cup white sugar
3 tablespoons all-purpose flour
5 eggs, 2 egg yolks
Zest of 1 lemon & 1 orange
1/4 cup heavy whipping cream


Directions:
1. Preheat oven to 400 degrees F (200 degrees C). Lightly coat a 10 inch spring form pan with spray oil.
2. To make the crust: Combine 1 1/2 cups Graham cracker crumbs, 1/2 cup butter. Spread to the edges of the pan. Bake 10 minutes at 400 degrees F Allow to cool.
3. Increase oven temperature to 475 degrees F (In a large bowl, combine cream cheese, 1 cups sugar, 3 tablespoons flour, 5 eggs and the yolks and mix thoroughly. Add cream and mix only enough to blend.
4. Pour filling over crust and bake for 10 minutes at 475 degrees F. Reduce temperature to 200 degrees F and continue to bake for one hour. Turn oven off, but leave cake in for another hour. Don't worry if it looks a little jiggly in the center.
5. Chill overnight. This is imperative! Top with your favorite fruit pie filling.

Here are some more things to love about NY:

February 19, 2009

Chocolate Mousse

A deadly rich chocolate mousse:

Ingredients: 2 large bittersweet bars of chocolate ( 400g)
8 eggs
8 tbs. sugar
Rum to taste
1. Melt chocolate in a water bath
2. separate eggs
3. In a bowl mix egg yolk with sugar add a bit of rum
4. when chocolate melts, pour into egg mix
5. test to check rum
6. With a beater, beat egg whites until stiff
7. When stiff, mix under chocolate mixture.
8. Chill for 2-4hrs.

February 18, 2009

Design It Yourself -- A Comparative Book Review

This Christmas, two books from the D.I.Y series edited by Ellen Lupton found their way into my household: The D.I.Y Deck and D.I.Y. Kids. Both were published in 2007 and were designed to follow up on the successful initial book of the series D.I.Y. Design It Yourself published in 2006.


Design and Layout

The design of the D.I.Y Deck is interesting because it is a collection of 25 cards reminiscent of recipe cards with each featuring a particular project. The card set is subdivided into the categories Invitations, Housewares, Totes, Stickers, Shirts, and Gifts. Handling the cards is kind of fun; you can sit on the floor and spread them around to sort through projects you might want to attempt. Some of the cards have more than one page, though, which makes it easy to miss the flip side pictures. All the projects are rated by cost and time required to complete them.


D.I.Y. Kids follows the traditional book layout. Its main categories are Graphics, Toys, Home, and Fashion. Within these areas you find a wealth of cool ideas, and suggestions. Pop-up cards, book art, book plates, doll clothes, stuffed animals, architectural models, magnetic games, decoupage purses, fashion design, reverse applique, graffiti furniture,... you get the idea. I don't know if it's because this book is marketed towards kids instead of stodgy grown ups, but the projects and ideas are a lot more inspiring than those of the adult D.I.Y. Deck. As with the adult set, for each project D.I.Y. Kids includes an estimate of the cost and time required to complete a project and how much help and mess may be involved in creating a masterpiece.

The Craft-Off
For this review Liz (7) and I teamed up to test the "books" in a craft-off. Liz followed the instructions for pixel icons in the D.I.Y. Kids book, while I sorted through the Deck to decide on a project that could incorporate her work. Judging by the proliferation of pixel icons on my desktop, the instructions in the Kids book were very clear. If anyone is in the market for 1 inch stickers of bunnies, let me know. The instructions for the clock re-design were also straightforward. Hints like "the clock has to be made from two distinct pieces of plastic" and "keep the clock hands in order to make it easier to reassemble the clock" may seem obvious, but were very much appreciated.

Here is the merger of our efforts. My husband brought this kitchen clock into our marriage. I hope he appreciates the re-design.

In the final analysis. D.I.Y. Kids is the better value with more interesting, creative ideas that easily translate into a D.I.Y. adult world.


Simone
groundsel.etsy.com

February 17, 2009

Pillowcase How-To

Refashioning Your Old Pillows

An easy way to add some spice to your space is just to change something superficial, like a pillow. If you’re disinclined to go out and buy new pillows, it’s easy enough to just cover up the old ones. Instead of covering my pillow completely, I’m going to make an envelope style pillowcase so I can take it off to wash occasionally.

My mom covered this pillow for me when I was in high school. I recently opened it up and realized that the original pillow is a Minnie Mouse pillow that I loved when I was 7. I’m no longer into either of these patterns, though they were perfect at the time. So it’s time for something new. After digging through my fabric stash, I found the perfect fabric to fit my life now. (Alternately, you can use old curtains, a moomoo from the thrift store, sheets, etc just find something you like.)

What you’ll need:
A pillow to cover
Fabric (a large enough piece to cover your pillow and then some)
Scissors
Measuring Tape (I used a measuring tape, a yard stick, and a hem gauge)
Pins
Sewing Machine (or you could sew it by hand)
Matching or Contrasting Thread
Tailors Chalk

Step 1

Measure your pillow. Mine is approximately 18 inches square, measured from seam to seam.

If you want a nice and snug fitting pillowcase, don’t give yourself a seam allowance when you measure out your front piece. My pillow is a little flat, so I’m going to make one large square of 18 x 18 inches for the front panel.

For the back panels, I’m cutting out 2 rectangles, each 18 inches long. One is 11 inches wide and the other is 13 inches wide. The back panels will need a seam allowance on the overlapping edges of 1 inch each, plus they need to overlap by at least 1 inch. I like a lot of overlap so that they stay firmly in place.

Use this to check what your overlap will be: Overlap = (Width 1 + Width 2) – 2” seam allowance – height of pillow.

Mine is: 11 + 13 – 2 – 18 = 4 inches of overlap (this might be a little bit of an overkill).

After you’ve figured out what size each panel should be, draw directly onto the wrong side of your fabric and cut out your panels.

As you can see, my back panels are a different fabric than the front. No rhyme or reason there, just felt like it.

Step 2

Using a measuring device (I used my hem gauge), fold over 1 inch of one of the 18-inch sides of each back panel, then pin and iron. Then tuck half of that under itself, so the hem is only half an inch, like shown, ironing and pinning again.

Using your sewing machine, sew each hem in place, taking out the pins as you come to them. I chose to use a thread color that matches the front and contrasts with the back panels.

Step 3

If you wish to embellish the front, now would be a good time to do so, however you’d like. I chose to let the pattern on the front speak for itself.

Now pin the pieces together with the right sides facing inside.

Overlap the top and bottom back panels, pinning well, so that together the two back panels match the front panel.

I like to have the top back panel on top when all finished, so I pin it underneath the bottom panel, so it switches when I turn it right side out.

You can choose to have right and left back panels instead of top and bottom. That’s especially nice if you have a longer rectangular pillow, instead of a square one.

Step 4

Sew it all together!

One seam around taking out the pins as you go works fine, I keep a ¼ inch seam allowance. And do backstitch both the beginning and the end, which are in exactly the same place.

Snip the corners off, careful not to cut the seam.

Step 5

Turn it right side out. I like to use a chopstick to get the corners all pointy. A pencil or your finger can work fine too.

And now stuff it with your pillow.

Et voila!

By Karen
www.KarensMonsters.com

February 16, 2009

How to Make an Easy Cone Toss


February is National Wedding Month. According to the Wedding Report, the current average cost for a wedding is well over $28,000. With the current economic downturn, it's easy for couples to entertain the idea of going the DIY route wherever possible. As a wedding designer, I'm often asked for tips and ideas on how to do take on some portions of the ceremony or reception to cut cost. Using a cone toss is a very simple way to create something that you can use for your event. All you need is a sheet of paper, some ribbon, tape and a hole punch.


Start by laying the piece of paper lengthwise, and folding the top two corners down until they meet in the middle.

Take one of the lower corners and twist until it forms a cone shape.

Secure the end with tape. (Double-sided tape works well here.)

Measure out ribbon the length of the cone and add enough to include a handle.

Punch a hole on the top of the cone.

Thread the ribbon ends through the bottom of the cone and tie the end. Then feed the loop end through the hole on top of the cone.


Punch two more holes on the front side of the cone and thread a second piece of ribbon to tie a bow. That's it!

You can use these cone tosses for a variety of things at your wedding. Create it to hold confetti or petals for your guests to toss when you come down the aisle. Or use it at your reception to hold candy for your guests.

The beauty of this is that you can use whatever color paper and ribbon to create any number of different styles to match. In any case, this is a simple DIY project anyone can do to add a little personalization without breaking the bank!

Post by Lisa Fu
Pretty Stationery for Beautiful Souls
http://www.prettystationeryshop.com

February 14, 2009

Love Yourself: The Art of the Daily Top Ten List

On this day devoted to romance and couples, it's easy to get down on life if you're unhappily single. Several years ago when one of us was in that state on Valentine's day, my college roommate and I picked up a ritual we'd abandoned after moving out of our dorm room: making a daily list of ten things that surprised, delighted or comforted us. She lives across the country, and we've kept it up ever since via email.

Once I accidentally sent a list to another far-away friend, and he happily replied with a list too.

The Daily Top Ten LIst a wonderful way to reconnect with an old friend, and to realize that even the worst day offers up a list-worth of entries.

A few examples:
11/11/07
1. Woke up in a yurt near Coos Bay, OR.
2. Made oatmeal on the camp stove. Added almonds, brown sugar, dried
cranberries.
3. Made a cup of tea.
4. Packed up our gear and cleaned up the yurt.
5. Wore jeans (unfortunately unaware of National Corduroy Day)
6. Hiked all day long.
7. Spent an afternoon watching stormy waves break against cliffs. Saw
many varieties of beautiful mushrooms. Watched hundreds of sea lions
and seals lounging and barking.
8. K said I was making her heart grow too big for her chest.
9. Got a medium veggie pizza for dinner on the drive home.
10. A triple latte for dessert to keep my eyes open.

12/17/07
1. Made an agreement with myself not to get stressed and stuck to it.
2. Rain felt good.
3. IT guy was able to fix my crashed computer.
4. With things from last week being resolved, I now feel like I have time to do my other work again.
5. Co-worker stopped by to say goodbye before leaving for holidays.
6. Played Santa and dropped off a birthday gift at T's.
7. L and I were both home before 6.
8. We took a long walk and looked at Christmas lights.
9. Good phone conversation w/my mom.
10. Paid off student loan.

1/6/08
1. Slept in.
2. Finished Persepolis.
3. Waffles and raspberries for breakfast.
4. Did not leave the house after the gym.
5. There was a special section in the paper all about the Oscars.
6. Napped with the cat, who is an excellent napper.
7. Post-nap snack of hot and sour noodle soup.
8. Assembled the 35 pairs of earrings I started on Friday.
9. Got some eggplant caponata that my mom made.
10. Watched the first episode of the last season of the Wire.

Some things bear repeating:
6/27/07
1. LAST DAY OF SCHOOL.
2.LAST DAY OF SCHOOL.
3. LAST DAY OF SCHOOL.
4. LAST DAY OF SCHOOL.
5. LAST DAY OF SCHOOL.
6. LAST DAY OF SCHOOL.
7. LAST DAY OF SCHOOL.
8. LAST DAY OF SCHOOL.
9. LAST DAY OF SCHOOL.
10. LAST DAY OF SCHOOL.

-MaryAnne
wabisabibrooklyn.com
wabisabibrooklyn.etsy.com

February 12, 2009

Handmade Nation comes to NYC!!!


By Lorina of The Original Beadscarf

Yesterday I had the great pleasure of attending a Q & A session featuring the authors of Handmade Nation and the indie documentary film of the same name.

Andrew, the Editor in Chief of American Craft Magazine was on hand as moderator of the event. He likens the Indie craft movement to the Punk rock era of the 70’s and 80’s in which self expression was rebellious in nature, much the way today’s crafters are anti-“big box”.

Faythe Levine and Cortney Heimerl travelled through the US to interview crafters from every corner of our country. Both being indie crafters themselves, became very interested in learning how various communities of crafters evolve and thrive.

The two met while they were vending together at markets and eventually decided to put up a video on youtube to promote their journey documenting indie craftspersons of America.
Particularly interesting was when Faythe mentioned that there was a tremendous interest from people outside the community who didn’t know what they were doing, and had to explain what crafters actually do. They also found that men became increasingly aware and interested in joining this female dominated arena.

Cortney and Faythe believe that the web is an integral part of the future of crafting in the form of online communities, forums, sharing of info and getting one’s name into the public eye. Crafting fills a need to get people together in person, which is often challenged by contemporary life. Crafters often feed off each other in complementary ways. There is definitely a social aspect to crafting.

Handmade Nation the film has sold out for its showing at the Museum of Art & Design for Thursday night’s premiere; however, there will be additional screenings the weekend of Feb. 14 and 15. Visit http://www.handmadenationmovie.com/ for more information.

For more blogs from Lorina of The Original Beadscarf, please click here.

February 11, 2009

Where to find the {NewNew} Valentine's Day Weekend

Do something special this Valentine's Day. NYCreates Launches The Red Show: A Valentine’s Arts and Crafts Fair and Celebration at the Brooklyn Historical Society for three whole days! Our very own MilkMade will be present featuring her original milkcap jewelry & accessories. [MAP]

We are back at the Brooklyn Flea Winter Pop Up Market in Dumbo this weekend! On Saturday, silkscreened clothing and accessories by BetterThanJam, jewelry by wishbyfelicity and cards + scrapbooks by waisze; as well as stained glass accessories by citybitz. On Sunday, we have jewelry from jantar, knitted accessories by knitknit, as well as pointillistic cards by warpedesign. We'll be there from 11-6pm. [MAP]