Showing posts with label paper. Show all posts

January 6, 2012

Giving Your Holiday Cards A New Life


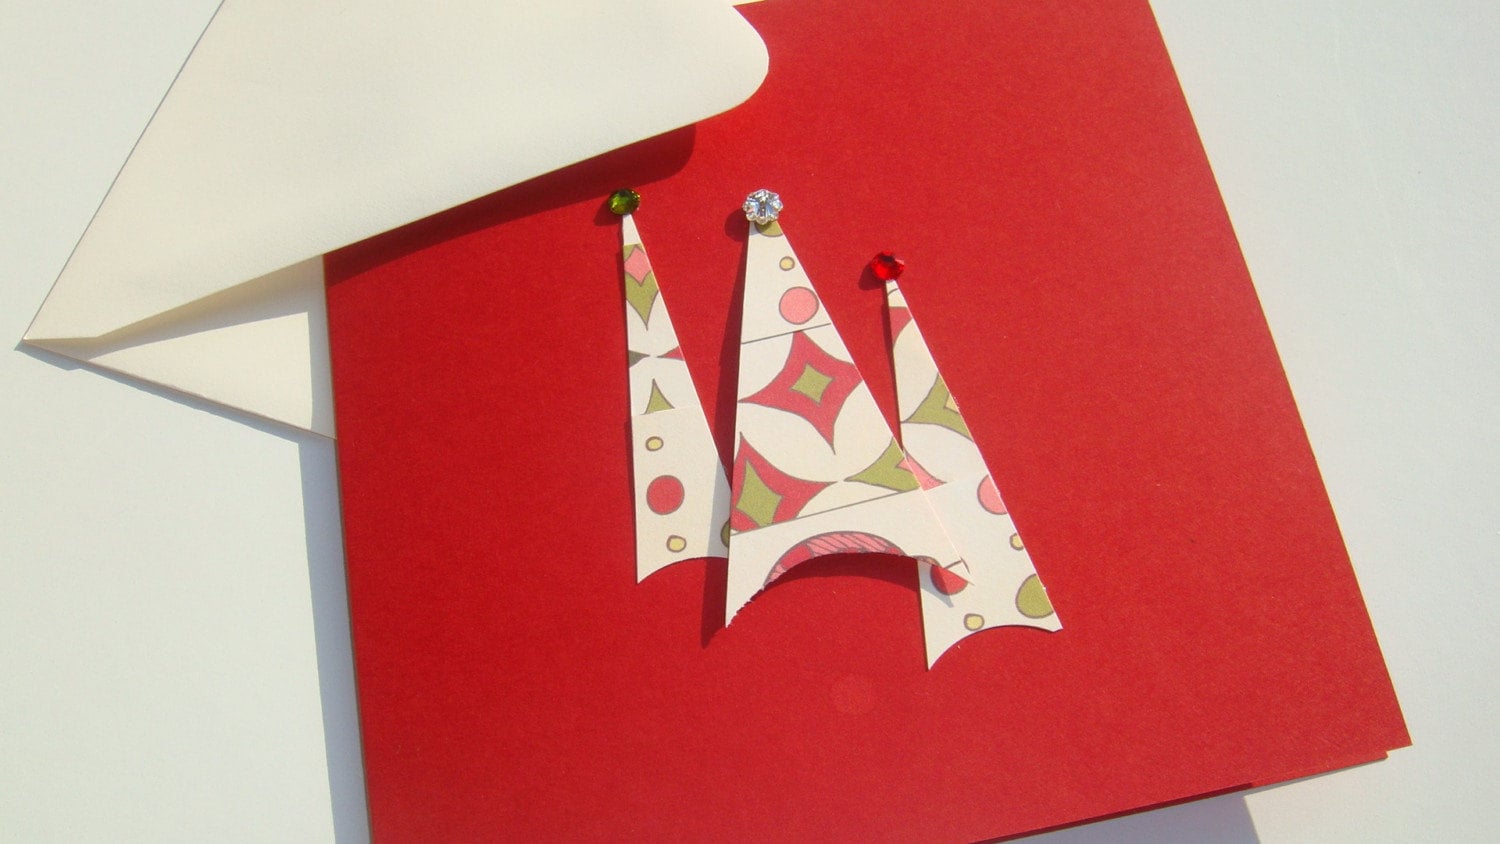
Happy New Year, Readers! I hope your Holidays were spectacular and that you've entered 2012 with feelings of excitement, determination, and peace.

The first week of January, I attempt to do some spring cleaning. I clean out my closets, shred old papers I no longer need, go through old magazines from 2011, and do an inventory of my business stock. I also file all of my receipts and get my books in order as I prepare for orders in the new year and tax season. In other words, I purge, breathe, and usher in something like order before the chaos begins.

December 16, 2011

Wrapping Your Holidays With Eco-Love

Good December, {NewNew} readers!

Last month, I promised you a blog with tips on how to eco-friendly decorate your home for the Holidays. I'm sorry to break the news to you, but I'm not writing about that this month. Instead, I'm sharing my favorite eco-friendly alternatives to gift wrap.

Yes, we are talking about decorating under the tree for your loved ones and the planet. I think it's a trade-off, but don't worry, you will get your tips for eco-friendly Holiday decorating. You can hold me to it!

July 26, 2011

Giant Pinwheel


So, I had this idea to make a pinwheel, but not an everyday ordinary pinwheel (as cute as those may be). No. I wanted to make a really big pinwheel. Just for fun, and for the challenge of it (assuming there's a front-end reason most pinwheels are the sizes they are). And it was a challenge. But the end result was as fun. With the challenge part of it overcome, making them is a snap.

Materials
Don't be daunted! It's a lot but you probably have most of it on hand.

  • Two pieces of 12" x 12" cardstock (only one piece actually needs to be that large; the other can be as much as 1/4 that size)
  • Wood dowel
  • One 18-gauge 5/8" nail (make sure it has a nice head on it)
  • Two pencils, one for marking and one with an eraser you can cut off
  • Small knife
  • Ruler
  • Scissors
  • Glue stick
  • Tacky glue
  • One-sixteenth inch hole punch
  • Drill and 1/16" drill bit
Steps
If you like, cut your dowel down to about half its original length or about 24" (I used the full 48" length). Drill a hole about 1/2" from one end. Set aside.

Cut the eraser off of a pencil (the eraser should be new or only very slightly worn). Set aside.

Fold a piece of cardstock in half diagonally (corner-to-corner) in both directions to create 4 triangles on the surface.


On the fold lines, make a pencil mark about 1/3 of the way from the center. Cut paper along fold lines up to the pencil marks.

Punch a hole in the left corner of each triangle.


Get your nail. Pull the first triangle corner toward the center of the paper and insert the nail point-first from the top.

Pull the second corner toward the center and position below the first corner and over the point of the nail. Repeat until all four corners are on the nail. Push the nail through the center of the paper.


Hold the pinwheel by the nail from the back and gently flatten the triangles a bit. This will make it easier to work with going forward.


Lay the pinwheel face-down so the end of the nail is pointing up.

Fold the other piece of the cardstock in quarters. Cut along fold lines. Take one square and cut the corners off. Apply glue stick to one side and then push it sticky-side down over the point of the nail. Press into place on the back of the pinwheel. (I would actually cut the paper down a bit more than pictured.)


Flip the pinwheel over while holding everything in place. Insert the pointy end of the nail into the hole in the dowel.

Lay the pinwheel face-down again so the dowel is on top with the nail poking through it. Push the cut-off pencil eraser onto the end of the nail. Adjust its position to allow the pinwheel to spin. Set into place with a dab of tacky glue.


Allow to dry, then gently un-flatten the triangles. You may have to bend them forward from their base a bit too. Stick the whole thing into a planter or a vase filled with stones, or affix to anything tall and free-standing (like a lamp) and wait for a light summer breeze to blow by and spin it.

Until next time --

Linda


November 19, 2010

Holiday Gift Guide from the {NewNew}

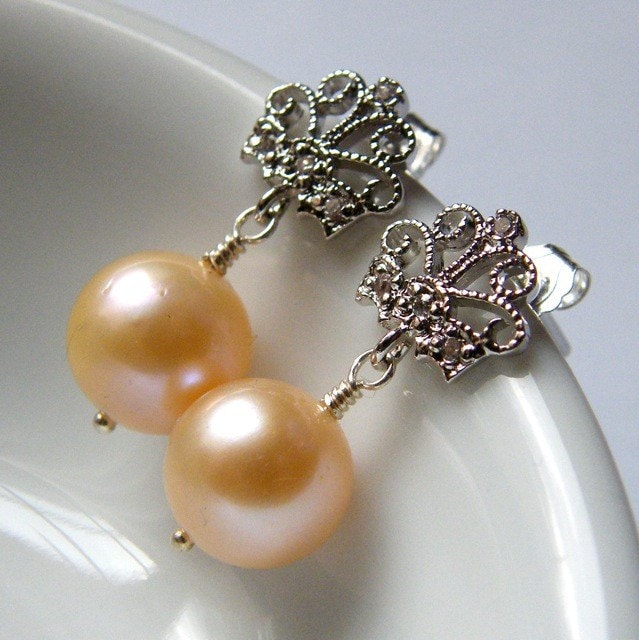
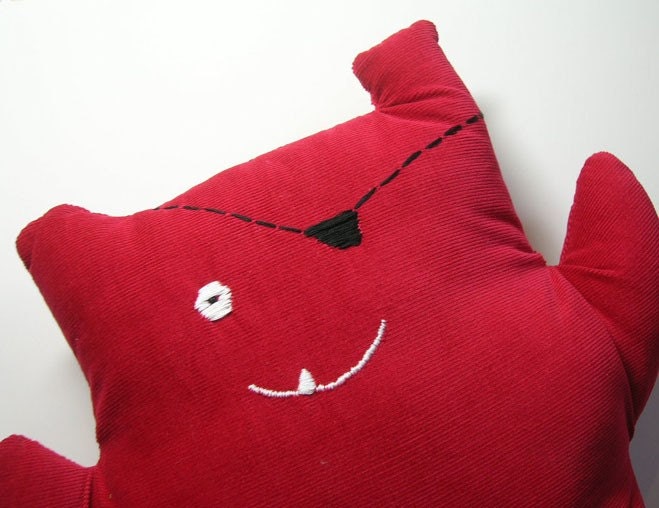
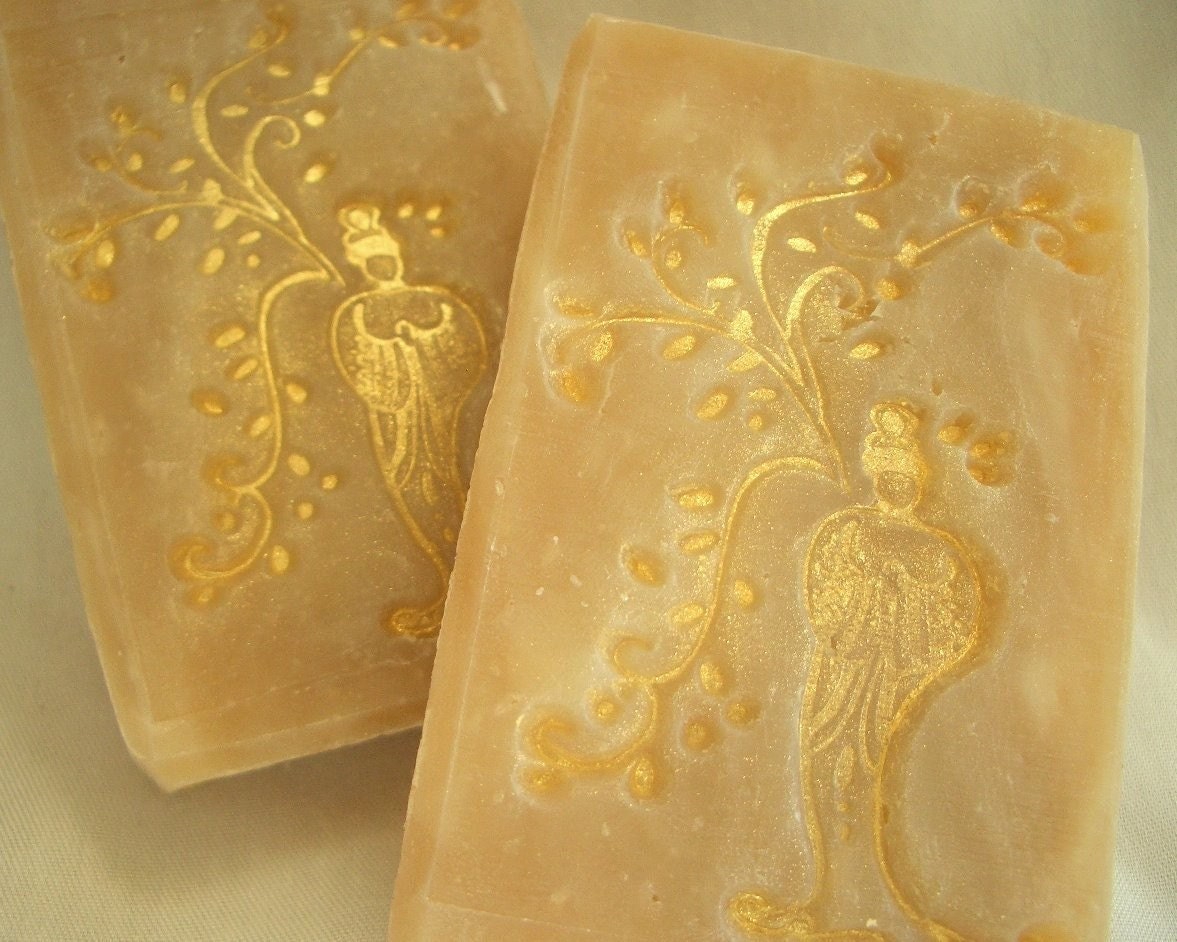
Nothing says happyholidays-happybirthday-happyhanukkah-merrychristmas-happynewyear-iloveyou like a good, old fashioned piece of paper. Somehow, now matter how hard you try, the absurd graphics of e-cards, the strange language of texting, or an update on Facebook doesn't cut it when you're trying to make an impression. This year at the Holiday Handmade Cavalcade at OpenHOUSE Gallery in Nolita, New York, over forty designers will be selling perfect gifts for every occasion. In particular, the artisans doing their work on paper are exceptional. Be sure to come on by on Sunday, December 5th to see these beautiful paper products for yourself!


More fantastic products will be available at the Holiday Handmade Cavalcade, so keep checking back between now and December 5th for more product and artisan features!


Karina

December 6, 2009

The {New New} at the St. Nicholas Faire in Cobble Hill

A number of {New New} team members will be taking part in the 20th Annual St. Nicholas Faire at the Christ Church in Cobble Hill, Brooklyn. The fair takes place on Saturday, December 12th from 10 to 5. The church is located at 326 Clinton street and convenient to the F/G train to Bergen street. Check out some of the participating shops and start planning your shopping strategy now!


July 25, 2009

Do You Vote?

Every week Etsy Voter offers a new and interesting category of handmade and vintage goods, as well as supplies, for people to vote on. Winners are announced each Monday, along with the next week's topic so people can nominate their favorite sellers (hint, hint). You may even nominate your own shop!

It's a fun, informal way to access what can at times seem like a daunting amount of awesome items on Etsy. And for crafters, nominating your shop is another way to bring more traffic to your door! This week the Voter is accepting nominations for back-to-school notebooks and journals.

Naturally, the {NewNew} has many eligible shops:


So get out there and vote!


Susan
-- persuede.etsy.com

May 9, 2009

How-To: Gum Wrappers, Mom, and Me

the big one!

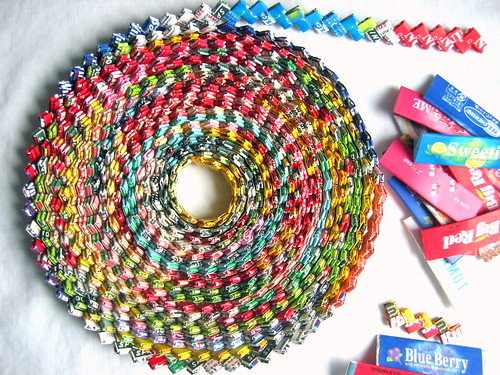
When I was a little girl, my mother taught me how to make folded paper chains from gum wrappers. This humble paper craft introduced me to the concept of making something decorative from what would otherwise end up in the trash. It was like learning a magic trick. There was a lot of treasure-from-trash activity going on in the 70s -- my grandmother's crocheted kitchen mat made from plastic bread sacks, my mom's Christmas tree made from spray-painted tuna fish cans! But the gum wrapper chain was my first attempt at upcycling, and it's still my favorite.

We took gum wrapper chains seriously in our house. My mother was the Gumkeeper and Chain Maven that made it all possible. We had a drawer in the kitchen that she always kept stocked with gum and loose wrappers to work on when the mood struck. At the height of our wrapper-folding enterprise, the chain stretched from one end of our house to the other (and beyond!).

Sadly, the chain we made got lost in a move, but I have a chain of my own now, which I started making when I was 17 years old and living away from home for the first time. I was an exchange student living abroad, at times terribly homesick. I'm sure that repeating that same sequence of folds my mother had taught me years before must have helped a little at easing the sadness of being so far away from her and dad.

Here are the instructions for making your own Gum Wrapper Chain. I usually work in stages: tear a big batch of wrappers in half, then fold all the halves into links, then assemble the links at the end.


step 1 step 1b
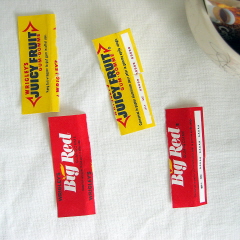
1. Fold gum wrapper in half lengthwise. Give it a nice, firm crease, then tear wrapper along fold line. Each half-wrapper will eventually become a link in your chain!


step 2 step 3
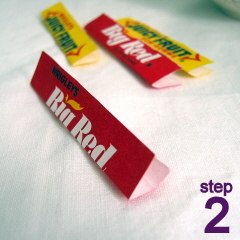
2. With blank side facing up, fold each half-wrapper in half lengthwise and crease.

3. Open the fold, turn the edges in toward the center crease, and refold. You should be left with a nice thin strip.


step 4 step 5
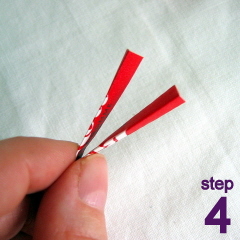
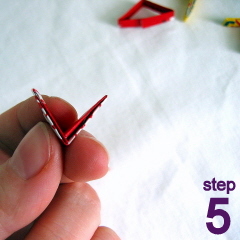
4. Fold strip in half, forming a large "V."

5. Turn both ends inward toward the center fold. You will now have a link that resembles a small "v."


step 6 finito
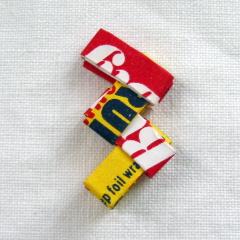
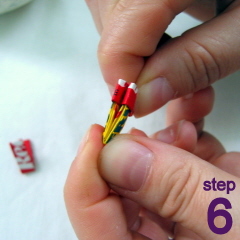
6. Now it's time to assemble your little links! Grab two links and insert the tabs of one link through the slots of the other link. Repeat and repeat and repeat until you run out of links. And there you have a gum wrapper chain!

(NOTE: If you're not a gum chewer, you can use other types of paper to make a chain. Skip step 1 and instead cut paper into 1" x 2 5/8" ( 2.5 cm x 6.7cm) pieces, which is the same size as one-half of a wrapper. Also note that paper that is too thin or slick will make chains that are prone to getting twisted and tangled.)


Happy Mother's Day and happy folding!


Lisa H.
parallelbotany.etsy.com

April 18, 2009

New Ways with Magazines


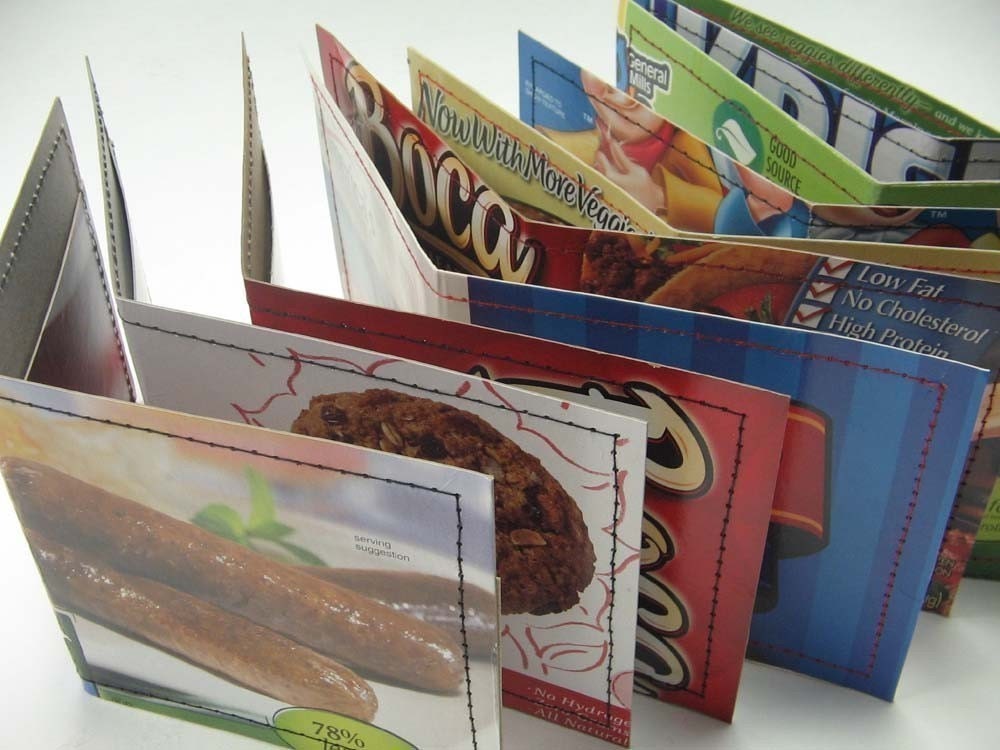
I've always tried to be a little earth friendly. I love recycled crafts because they are so much fun, and can be a real to challenge yourself, you know? So, here's a couple of fun things you can do with magazines. Personally, I love to use fashion mags best, but you can pick whatever you wish.

One popular idea on Etsy, is re-purposed envelopes. These are easy-peasy to make.

1. You don't need a template, just save the envelopes from the greeting cards people give you. Be sure to open it nicely so nothing rips.

2. Take the envelope apart, so that all the parts are laid out flat. This will be your template.

3. Whip out those old magazines, and trace the outline of the envelope on them. Cut it out, then fold and glue at the sides.

That is all there is to it! Easy, right? Simple! Using this method, you can make envelopes of any shape you want, too! That's the fun of it. You can get pages that have similar themes, like cakes, fashion clippings, things like that, and sell them together. Or get old bridal magazines, and sell the re purposed envelopes in sets.

Another cool idea is to use the images and words in magazines for collage work. My husband does that a lot. That's so much fun because every page can be used for something!

You can also make paper beads with recycled magazines.

There are two ways you can go about this: you can do the decoupage version, which is quick and easy, or you can get your heat gun, embossing ink, and ultra thick embossing powder and do it that way. Personally, I prefer the latter, but being a full time stay at home mom, I don't have the time. So I do it with Decoupage and Diamond Effects.

First thing you'll want to do is get yourself a good paper cutter. You'll also need Diamond Effects and a Decoupage medium.

1. You're going to cut your paper into 1/2" wide strips. Or however wide you want. Just remember that the width of the paper, will be the length of the bead you make. Got it? Good. So, cut up that paper! Each strip makes one bead, so cut away my friend!

2. You're going to use just a tap of glue (I prefer a glue stick, for less mess), and glue the end of the strip, then wrap it loosely around. When you get to within 1/4 to 1/2 inch of the tip, add a dab of a glue. You are going to be sitting there until this dries well enough to let go of, which is why I love my glue stick.

3. You can use wire to string the beads, then go over them with Mod Podge (decoupage medium), and Diamond Effects. But you can use anything! Depending on how tightly you wrap your beads, you can even use skewers, or something. But a nice sturdy wire works. I like to fashion a makeshift clothing line out of the wire to let the beads dry.

Voila! You have a paper bead. You can make pretty earrings, and all kinds of fun jewelry with it.
You can even paint them, or add glitter to it if you want.

Want more ideas?

Another cool thing you can do is make an end table out of magazines! Or, you can make gift bows out of them! What a cool idea! Don't feel like doing anything with them? You can always donate them to a local library, or nursing home or hospital.

Just use your imagination, and have fun!

The Craftaholic
Sweet Buddha Designs

April 11, 2009

How-To: Recycle Junk Mail into Paper Beads

bead tutorial, header

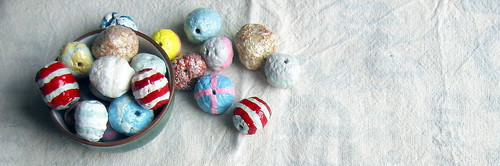
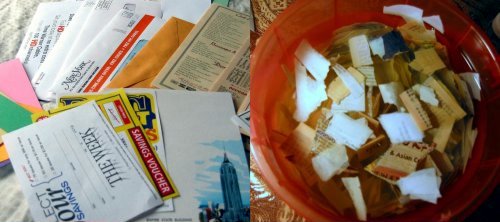
With just a few pieces of basic equipment, you can turn your boring old junk mail into cute paper beads! These lightweight, bulky beads are great for making fun chunky jewelry, festive garlands, or a bead curtain to hang in your doorway (if you're feeling ambitious!)


Equipment:

- Kitchen blender
- 2 Buckets
- Large bowl or tub
- Sieve
- Awl
- Cutting mat
- PVA (white) glue
- Acrylic gesso
- Acrylic paints
- Clear varnish
- Paintbrushes
- Paper for recycling.

For this tutorial, I loosely packed a 1-gallon bucket about 3/4 full with scraps, which yielded around 100 beads ranging in size from 1/2"-1".

Ideal papers to use: anything printed on standard office paper, business envelopes, take-out menus with a matte finish, kraft paper.

Papers to avoid: glossy or coated papers such as magazine pages, waxed paper, newspapers and phonebooks (the ink is very messy and gross), facial tissue, paper towels.

NOTE: I recommend that you have dedicated equipment for home recycling/papermaking, rather than use the same items you use for food preparation. A good, used blender can easily be found at a thrift shop or yard sale. My rule is: if I use it for papermaking, I don't use it for food.

beadtutorial 1


STEP 1: Tear paper into 1" scraps. Make sure you remove any staples and all plastic windows from business envelopes. Place torn scraps in a bucket, fill with water, and let it soak overnight.

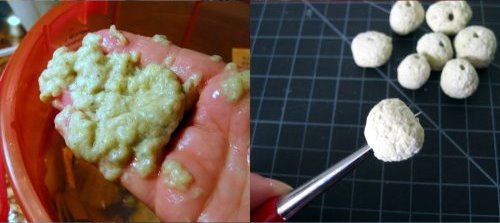
STEP 2: Now it's time to make pulp! Put a couple of handfuls of paper into the blender and fill blender about half-full with water. Blend until the paper has the consistency of oatmeal, about 10 seconds. Place sieve over second bucket, and empty blender into sieve. After the pulp in the sieve has drained a bit, manually squeeze out excess water before transferring pulp to large bowl or tub. Repeat this step until all your scraps have been pulped, drained, and squeezed.

STEP 3: Add a nice big dollop of white glue to the pulp, mixing it in with your hands.

STEP 4: Roll yourself some beads! Take a bit of pulp and roll it into a little ball between your palms. This is the tricky part. If the pulp has too much water in it, it won't hold together. If it has too little water, it will be too crumbly to hold together, and your beads will break apart. Try rolling a couple beads and see how it goes. If the pulp is too wet to hold together, squeeze out more water. If the pulp is too crumbly, add back a little more water and some glue. You'll soon get a feel for the proper consistency, and it's easy to make little adjustments as you go. When in doubt, add more glue!

beadtutorial 2


Once you've formed all your pulp into little balls, let them sit in a nice, out-of-the-way spot until they are dry as a bone.

STEP 5: Put holes in your beads with an awl. Working on a cutting mat to protect your work surface, hold the bead steady between your thumb and forefinger and press the awl slowly and firmly straight down through the bead.

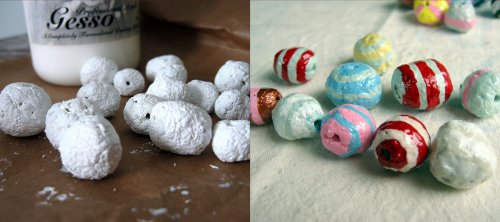
STEP 6: I like to prime my beads with a nice thick coat of undiluted gesso because it helps to smooth over the rough surface. This step isn't absolutely necessary, and you can go straight to decorating your beads with paint, if you want.

STEP 7: Grab your paints and brushes and go nuts!

STEP 8: When the paint is dry, you can brush on a coat of clear varnish to give your new beads a little added protection and shine.
beadtutorial 3

April 28, 2008

how-to: re-using paper

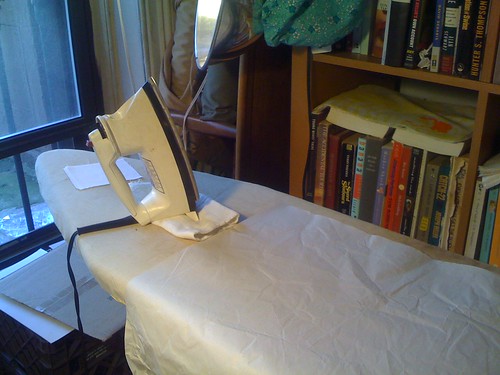
i love finding ways to recycle paper that are more interesting than putting it in the recycling bin. i use newspaper to wrap presents and clean my windows and mirrors, print documents on the back of old flyers, line my ironing board with scrap paper when i iron on fusible interfacing to keep the sticky interfacing from gooping up my ironing board cover....

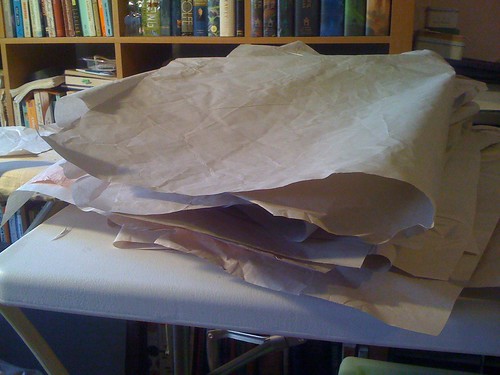
one kind of paper that always seemed to me to be begging for a good recycling is packing paper. you know, the thin-ish paper that you would use to wrap up your breakables when you move, or that comes as padding in a package. it's such nice paper, but always so crinkled post-use. i wondered if it could be ironed (without setting fire to my ironing board) and brought back to useability... so when i saw an offer on freecycle for a few boxes full of used packing paper, i jumped at it.

recycled paper tags

i set my iron to medium-low and gave it a shot, and it worked great!

recycled paper tags

the wrinkles weren't completely gone, but it was flat enough to work with, and really i like the way the wrinkles remain and give it texture.

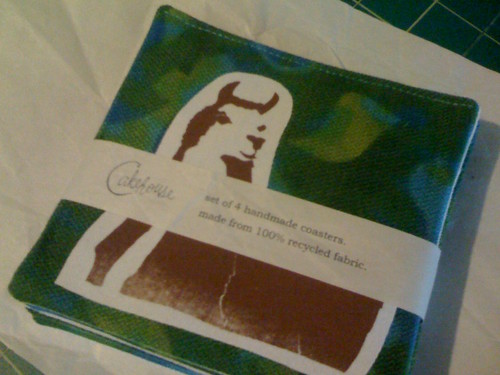
i had an inspiration for its first use, now that it was relatively flat: as wrap tags for my napkins and coasters, which would bundle them together neatly, show off my logo, and identify them all in one fell swoop.
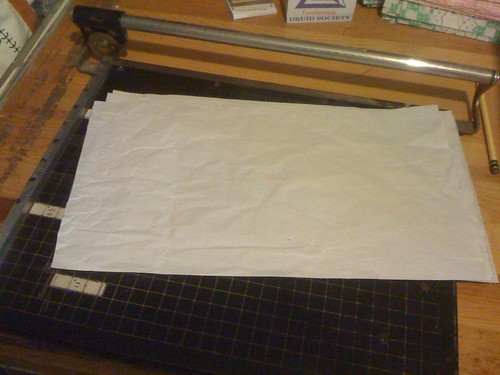
so the next question was: could i run it through my printer? i started by cutting it into printer-appropriate size on my paper cutter.

recycled paper tags
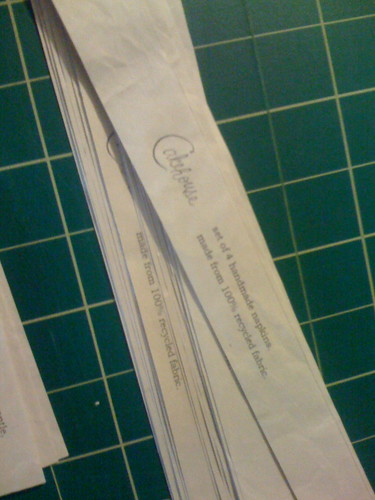
then crossed my fingers and ran it through. and...success! here it is after another trip through the paper cutter:

recycled paper tags

i'll admit, i did have one paper jam out of ten printings. but that's a ratio i can live with. and look how cute my products look in their new outfits:

recycled paper tags

i can think of tons of other uses for ironed used packing paper—flyers, small banners, wrapping paper (in fact, i already wrapped some presents in it this weekend....)—and i'm sure all you crafty people can think of lots more...share 'em in the comments section, please!

- cakehouse